
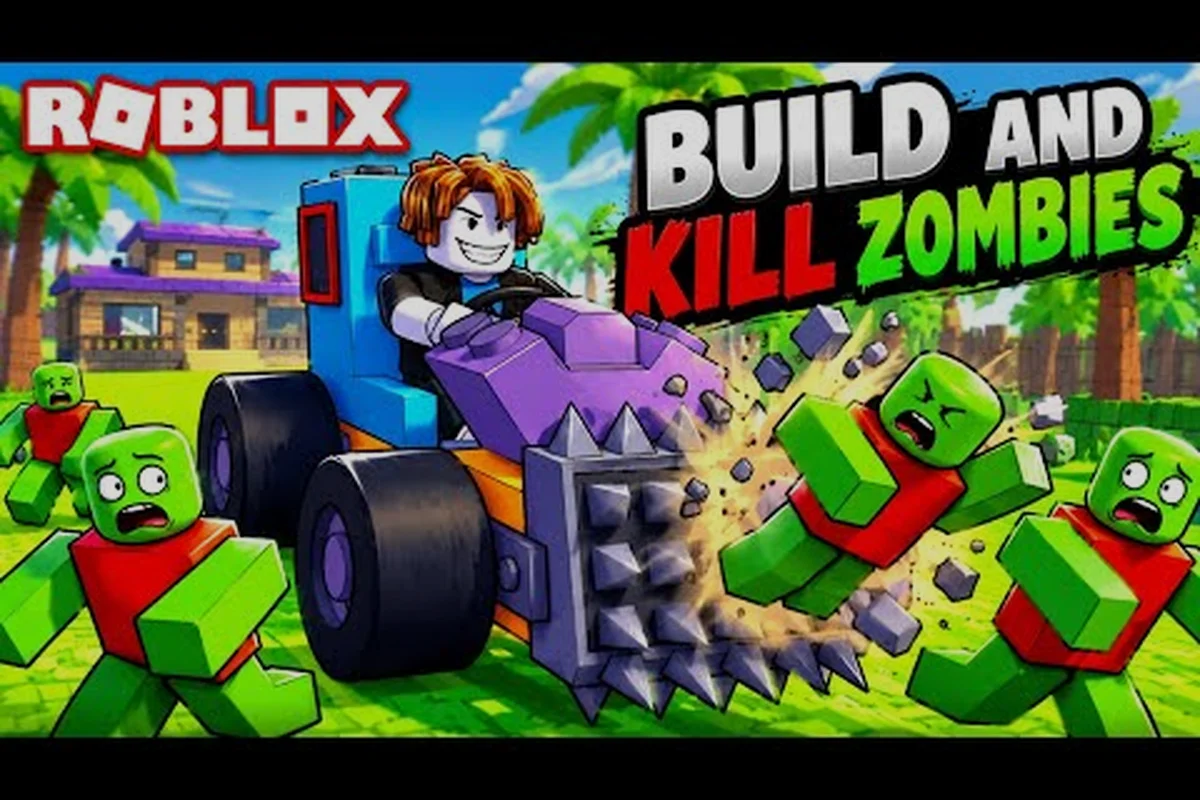
Stepping into the shared world of Build and Kill Zombies for the first time can feel overwhelming, because the lobby throws plot claiming, roll machines, and a half-built car pad at you within seconds of loading in. This Build and Kill Zombies lobby guide breaks the spawn-to-departure flow into the exact actions a new player should take, from picking a free plot to launching a run that actually earns cash. By the end of the article you will know what every UI element on the hub does, how the roll economy feeds your first build, and which habits separate a lobby veteran from a player who wipes at wave one.
The hub is a sandbox built around three loops: claim a plot, roll for parts, and build a drivable vehicle. Cash earned during zombie runs flows back into roll tickets and permanent skill upgrades, so the decisions you make in your first ten minutes shape the next ten hours. Treat this as a Build and Kill Zombies complete guide to the lobby phase, with enough detail to double as a Build and Kill Zombies plot guide the moment you log in.
Inside the Lobby: What Every Player Sees on Spawn
The lobby is a wide flat island with two clusters of machinery and a long stretch of green plot tiles running down the middle. According to the official game page on KazaruGaming's developer profile, the experience launched on 19 August 2026 and sits inside the Zombie Car Crusher group, which has grown to 96,546 members at Tier 3 community rank. Knowing who runs the game matters because event windows, new part pools, and roll balance changes are pushed from that same group page.
When you first teleport in, the camera drops you near the spawn ramp facing the roll machines. To your left, the Vehicle Parts Roller glows green and reads a three-button prompt; to your right, the Weapon Support Roller mirrors it. In front of both, a row of small free plots is flagged with neon numbers, and a HUD strip across the top of the screen shows your current cash, roll tickets, and any active event timers. The HUD also includes a small SHOP button that leads to the EXCLUSIVE SHOP, which currently holds the four game passes reported on the developer profile: 2x Cash at 179 Robux and 4x Permanent Luck at 229 Robux among them.
| Lobby Zone | Visible Feature | Function |
|---|---|---|
| Center aisle | Numbered plot tiles | Free 6x6 building area, one per player |
| Left bank | Vehicle Parts Roller | Spends roll tickets for car chassis, wheels, seats |
| Right bank | Weapon Support Roller | Spends roll tickets for weapon mounts, barrels, ammo |
| Back wall | Skill Terminal | Buys permanent stat upgrades with cash |
| Corner pad | Run Gate (green key) | Launches the current car into a zombie run |
| Floating | SHOP and COMMUNITY CODES | Opens EXCLUSIVE SHOP and the (currently empty) code input |
The single most important rule of the lobby is that the run gate will not activate unless a car is parked on your plot. Empty plots cannot be launched, and you cannot launch a car that does not have at least one chassis block, one engine, one seat, and a set of wheels. Players who ignore the build step and try to walk out the green gate are kicked back to spawn with a "Place a vehicle first" toast.
Claiming Your First Plot in Build and Kill Zombies
Plot claiming is the first action any new player must complete, and the Build and Kill Zombies plot guide workflow runs in three short steps. Walk up to any unclaimed numbered tile on the center aisle and press the interact key; a confirmation prompt will ask whether you want to claim the plot permanently. Acceptance triggers a green outline and assigns the tile to your Roblox account, which is the same ID the developer profile uses for community codes and event rewards. Once claimed, your plot is reserved across sessions, so you can log out, return tomorrow, and find your half-built car still sitting where you left it.
Why Plot Size Matters Early
Every plot in Build and Kill Zombies is a fixed 6x6 grid, which sounds generous until you realize the smallest viable car already eats nine blocks. A four-wheel chassis, a driver seat, and a single engine leaves almost no room for weapons or armor, so new players should plan to claim a plot and treat the first build as a throwaway prototype. The roll system keeps giving you new parts every session, and a tight plot will teach you which parts are actually worth keeping.
Common Plot Claim Mistakes
The most common beginner error is claiming a plot, then standing next to it for ten minutes wondering why the roll prompt will not show. The roll machines are not bound to your plot; they sit on the lobby floor and respond to any player who walks up with tickets. Another frequent mistake is claiming two plots in the same session, which silently fails because the game only allows one active plot per account. If you see another player standing on "your" tile, the server is running a fresh instance and the claim did not save; simply rejoin and reclaim.
Rolling Parts: The Core Economy in the Lobby
The roll machines are the heartbeat of the Build and Kill Zombies lobby guide, because every buildable part in the game originates from one of two gacha-style rollers. Each roll costs one ticket, and tickets trickle in from a free daily stipend, run rewards, and a small chance per zombie kill. The Vehicle Parts Roller drops chassis blocks, wheels, engines, fuel tanks, and armor plates, while the Weapon Support Roller drops barrels, magazines, scopes, and the support struts that weld weapons onto a chassis. According to community data scraped from the four game passes, luck is the single biggest multiplier in this economy, which is why the 4x Permanent Luck pass is positioned as the most expensive premium upgrade.
| Part Type | Roller | Approximate Drop Tier | Build Role |
|---|---|---|---|
| Chassis Block | Vehicle | Common | Foundation frame |
| Engine | Vehicle | Rare | Powers movement and speed |
| Wheel Set | Vehicle | Uncommon | Required for driving |
| Armor Plate | Vehicle | Uncommon | Adds HP to the car |
| Weapon Barrel | Weapon | Rare | Damage core for weapons |
| Magazine | Weapon | Common | Ammo capacity |
| Support Strut | Weapon | Uncommon | Mounts weapon to chassis |
A common community-reported habit is to spend the first five tickets of a fresh session on the vehicle roller, then alternate one weapon roll for every two vehicle rolls. The reasoning is that cars without weapons fail at wave three, while weapons without a car never fire. Balanced rolling keeps both halves of the build progressing at the same pace, which is one of the Build and Kill Zombies tips that veteran players repeat on community threads more than any other.
Understanding Luck and Drop Rates
Luck does not change the part pool itself; it shifts the probability of pulling Rare and above. Community testing suggests the base Rare rate sits around 8% to 10%, and each tier of luck pass roughly doubles that band, which is why a single 4x Permanent Luck pass can make the first fifty rolls feel like a different game. The pass is server-side, so its effect stacks on every roll across every session until the developer rotates the pass out of the shop.
Building a Car: From Roll to Road-Ready
The Build and Kill Zombies how to build a car workflow runs through the plot you just claimed, and it is where most beginners stall out. Press the build key while standing on your plot to enter Build Mode, which swaps the camera for a top-down grid view and unfurls a parts tray along the bottom of the screen. Each rolled part appears as a draggable icon, and placing one consumes it from your inventory; parts can be rotated in 90-degree increments before placement, and misaligned pieces snap to the nearest legal grid cell.
Minimum Viable Car Checklist
A car cannot launch without satisfying the run gate's checklist, which the game spells out in a small panel near the green key. The minimum viable car is small, ugly, and surprisingly effective for the first run:
-
1x Chassis Block (foundation, must sit on plot)
-
1x Engine (attached to chassis, facing forward)
-
1x Driver Seat (placed on top of the chassis)
-
4x Wheel Sets (one on each corner of the chassis)
-
1x Fuel Tank (optional but recommended for runs past 500m)
-
1x Weapon Mount (any weapon support strut)
New players often waste ten minutes on aesthetics when the checklist only cares about the seven items above. Once the gate turns from red to green, the car is road-legal and can be launched; cosmetics come after the first successful run, when the cash balance actually lets you roll for the rarer chassis frames that look good as well as drive.
Build Mode Tips and Snap Behavior
Build Mode in Build and Kill Zombies uses a forgiving snap system, which means parts placed within one grid cell of a legal anchor will lock into place automatically. This is helpful for beginners, but it also hides bad geometry; a wheel half-buried in the chassis will still count as attached until you try to drive, at which point the car wobbles and slows dramatically. Press the rotate key (default Q) to test the angle, and the undo key (default Z) reverts the last placed part without consuming your inventory stack.
Players who want to graduate past minimum viable cars can weave in a quick reference to our car build deep dive, which walks through lighter chassis frames and power-to-weight ratios for longer runs. The first car you build is practice; the second car is where you start spending rare parts on purpose.
Launching Your First Run and Returning to the Lobby
Once the run gate is green, walk the driver avatar over to the car and press the seat interact key to sit down. The gate will pulse, a three-second countdown will appear, and the world will fade into the run track. Zombie waves spawn on a forward-scrolling lane, and your car drives itself once the countdown ends; all you control are left/right steering, brake, and a single fire button tied to whatever weapon you mounted. Cash is awarded per meter traveled and per zombie killed, with a small bonus for surviving each wave transition.
| Run Wave | Approximate Distance | Cash Reward Range | New Mechanic |
|---|---|---|---|
| Wave 1 | 0-200m | 50-80 | Basic walkers |
| Wave 2 | 200-450m | 80-130 | Sprinters appear |
| Wave 3 | 450-800m | 130-220 | Tanks and rollers |
| Wave 4 | 800-1,200m | 220-350 | First boss spawn |
| Wave 5+ | 1,200m+ | Scales with kill count | Endless scaling |
If your car is destroyed, the run ends instantly and you respawn back on your lobby plot with whatever cash and tickets you earned. There is no penalty for losing a run beyond the lost progress, which is one of the more forgiving Build and Kill Zombies rules that newer players appreciate. The full run progression rules explain how cash and ticket payouts scale past wave five, which is useful once your first car is road-ready and you start chasing longer distances.
Why the Lobby Loop Compounds
Every minute spent in the lobby is a minute invested in the next run, and that compounding is the entire point of the Build and Kill Zombies everything you need to know philosophy. A solid first run buys two or three extra roll tickets, which can pull a Rare engine, which doubles the next run's distance, which doubles the cash, which unlocks the first permanent skill. New players who skip the lobby and try to brute-force the first zombie wave end up restarting from a near-empty inventory; players who plan three roll cycles ahead of each run can clear wave three inside their first hour.
Frequently Asked Questions
How do I claim a plot in Build and Kill Zombies?
Walk up to any unclaimed numbered tile on the center aisle of the lobby and press the interact key, then confirm the permanent claim prompt. The plot saves to your Roblox account, which is the same identity the developer profile uses for codes and events, so you can leave and return to find your build still parked. Only one plot can be active per account at a time, and a second claim in the same session is silently rejected by the server.
What is the fastest way to build a working car?
Use the minimum viable checklist: one chassis block, one engine, one driver seat, four wheel sets, and one weapon mount. All seven parts can come from common drops, which means a brand-new account with two free tickets can theoretically finish a build after one lucky roll. For a deeper breakdown of lighter frames and rare engines, our car build guide covers the second-car upgrade path.
Are the 2x Cash and 4x Permanent Luck passes worth it?
2x Cash doubles every cash payout from kills and distance, which pays for itself in roughly three to four hours of play for active players. 4x Permanent Luck is more powerful long-term because it stacks on every roll for as long as the pass is in the shop, and the developer profile lists it as the most expensive of the four current game passes. New players who only plan to try the game should wait on passes until they confirm they enjoy the roll-and-build loop.
Can I launch a run without a car on my plot?
No, the run gate will not activate and a red "Place a vehicle first" toast will pop up if you walk up without a built car. The gate checks for at least one chassis block, one engine, one seat, and one wheel set before turning green, which is the same checklist the build UI shows when you enter Build Mode. New players who try to skip the build step get bounced back to spawn, and the run timer does not start until the checklist is satisfied.
How long does a typical run last in Build and Kill Zombies?
A minimum viable car usually survives 60 to 90 seconds and clears wave one, while a tuned second-car build can run for three to five minutes and reach wave four. The longest documented community runs extend past 1,200m on heavily armored blueprints, which is the bracket the run progression rules page covers in detail. Expect to lose your first five runs on average; the lobby is forgiving, and the cash you bank between attempts is the real progression.