
Weapons
Build and Kill Zombies weapons and supports explained - Shredder, Glass Cylinder, Crossbow, front-mount placement rules and how More Support raises weapon slots.
Introduction
Weapons in Build and Kill Zombies are called supports, and they come out of the SUPPORTS roll machine rather than the CAR PARTS machine. That distinction matters, because it means firepower and vehicle parts compete for exactly the same cash. A support piece bolts onto the chassis and only damages zombies it physically makes contact with, which turns placement into the single most important decision in the whole weapon system. The confirmed pieces are limited but distinct: the Glass Cylinder is a cheap uncommon starter that fits any small chassis, the Shredder is the spiked roller that flattens a wave on contact, and the Crossbow rolls from its own dedicated station and hits at range before a zombie reaches the bumper. How many supports you can carry at once is capped by chassis size and by the More Support skill ranks. This section covers what each piece does and where it has to sit.
Support Pieces & Placement
| Support | Rarity band | How it damages | Where it belongs |
|---|---|---|---|
| Glass Cylinder | Uncommon | Contact damage on anything touching the bumper | Front face of a starter chassis, cheap enough to fit on run one |
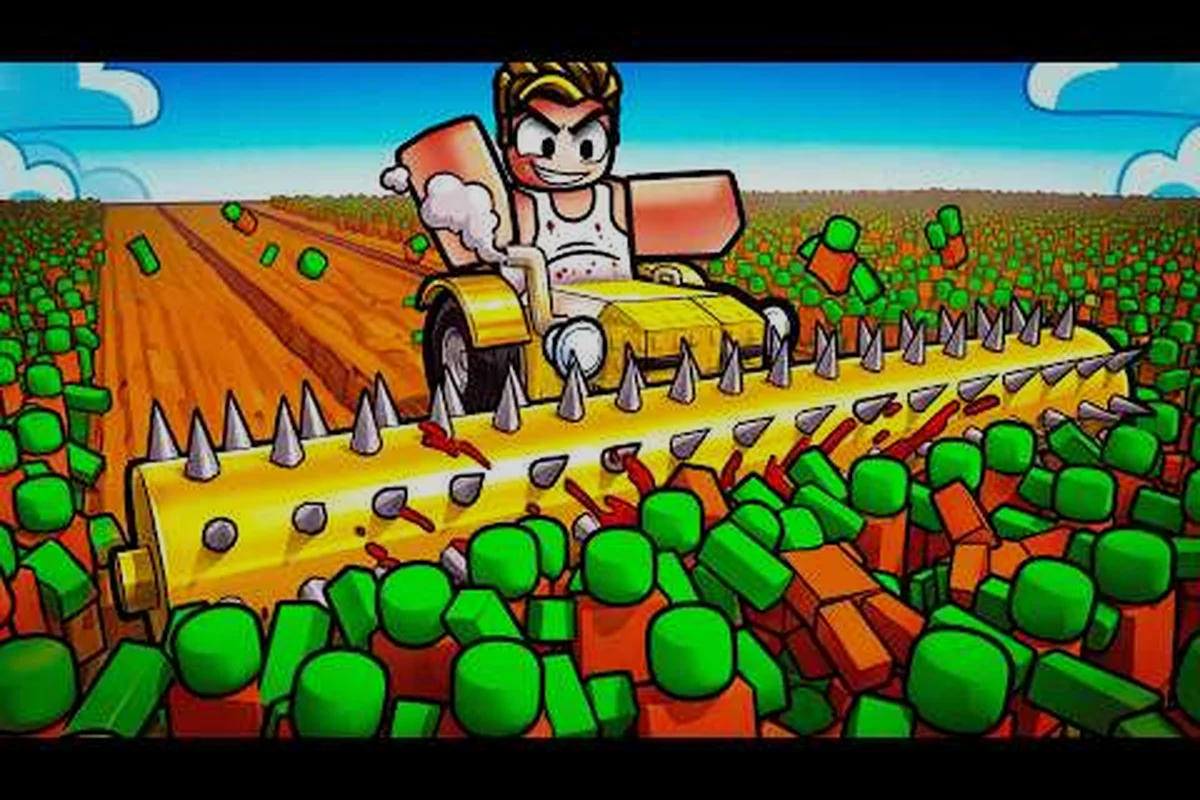
| Shredder | Uncommon | Spiked roller that flattens zombies it rolls over | Low front mount so the roller contacts the ground line of the wave |
| Crossbow | Dedicated station | Ranged shot that fires before contact | Forward-facing mount with clear line of sight past the chassis edge |
| Support slots | Skill-gated | Determines how many pieces can fire at once | Raised by More Support I and II, limited by chassis size |
Confirmed Supports
Glass Cylinder
A cheap uncommon starter piece that fits any small chassis without a rebuild
Shredder
The spiked roller that flattens a zombie wave instead of nudging it aside
Crossbow
A ranged mount that rolls from its own station and fires before a zombie reaches the bumper
Weapon Slots
The cap on how many supports fire at once, set by chassis size and the skill tree
Core Mechanics
Every support in Build and Kill Zombies is a physical object attached to the car, and damage only occurs where that object meets a zombie. There is no targeting, no lock-on and no attack button. A mount on the front face connects first; a mount on the roof or the rear is simply carried along and may never fire a single shot. That is why orientation in Build Mode is part of the weapon system rather than a cosmetic detail. Slot count is the second lever: the More Support skill ranks raise how many supports you can field, while chassis size decides whether there is a mounting point to put them on. Because supports roll from the SUPPORTS machine and parts from CAR PARTS, cash spent on firepower is cash not spent on going further, and the two pools are always in direct competition. Confirmed pieces remain few, so placement quality matters more than owning everything.
Advantages
Support pieces are genuinely differentiated rather than reskinned: the Glass Cylinder is a cheap contact starter, the Shredder converts dense waves into income, and the Crossbow reaches out before contact. Because supports roll separately from vehicle parts, you can deliberately target weapon upgrades when your distance is already adequate instead of gambling across a combined pool. Two weapon slots change a run far more than a marginal stat improvement, so the More Support skill ranks are among the highest-value permanent purchases available. Rarity and drop odds are shown on every roll result, which makes the machine transparent about what you are chasing. And because placement is free to change in Build Mode, a support that underperforms can be repositioned at no cost rather than replaced.
Challenges
Placement is the biggest trap in the game: a roof or rear mount can be a complete no-op, and because nothing tells you it never fired, the natural conclusion is that the weapon is broken. Confirmed support pieces are few, so there is not much room to tune a loadout or chase a specific niche. Contact weapons depend on the car still moving, which means a fuel failure silences your entire damage output at exactly the moment the run is ending. Supports also compete directly with fuel and engines for cash, and a player who over-invests in firepower ends up with a heavily armed car that stops before it meets anything worth shooting. Drop odds for the rarer pieces are not published, so planning around a specific weapon is unreliable.
Frequently Asked Questions
Why is my weapon not damaging any zombies?+
How do I unlock more weapon slots?+
Are supports or vehicle parts the better early investment?+
Quick Tips
Fit supports to the front face and check the rotation in Build Mode. A weapon on the roof or rear may never touch a zombie, and because nothing warns you, the piece reads as broken rather than misplaced; repositioning costs nothing and is the first thing to try. Placement decides whether a support does anything at all, so check the mount before replacing the piece.
Buy More Support I before chasing a rare weapon roll. An extra firing slot is a guaranteed, permanent gain, while a rare piece you cannot mount changes nothing about your run, so secure the capacity first and let the good rolls fill it afterwards. Placement decides whether a support does anything at all, so check the mount before replacing the piece.
Match the loadout to the problem ending your runs. If the car runs dry before the wave gets dense, cash belongs in fuel; if it dies to zombies, supports pay better, so diagnose the failure before splitting money between both pools. Placement decides whether a support does anything at all, so check the mount before replacing the piece.
Featured
Build and Kill Zombies Glass Cylinder: Spike Roller, Best Guns
Mount the Build and Kill Zombies glass cylinder and spike roller on your rig, with placement tips and rare weapons ranked for peak zombie damage output.
Build and Kill Zombies Guns: Explosives, Traps, and Top DPS
Compare Build and Kill Zombies guns alongside explosives, traps, and armor, then stack the highest DPS weapon loadouts for waves and boss fights.
Build and Kill Zombies How to Equip Weapons: Slots and Combos
Learn how to equip, remove, and slot Build and Kill Zombies weapons across every car part, read the stats that matter, and stack the strongest 2026 combos.
All Articles
Build and Kill Zombies Legendary Weapon: Rarity and Picks
Unlock the Build and Kill Zombies legendary weapon tier, compare rarity drops and uncommon guns, and learn which weapons dominate zombies and boss fights.
Build and Kill Zombies Melee Weapons: Damage and Top Picks
Break down every Build and Kill Zombies melee weapon by damage, swing speed, and support synergy so you can mount the best blade for any car setup.
Build and Kill Zombies Weapons: Shredder and Turret Picks
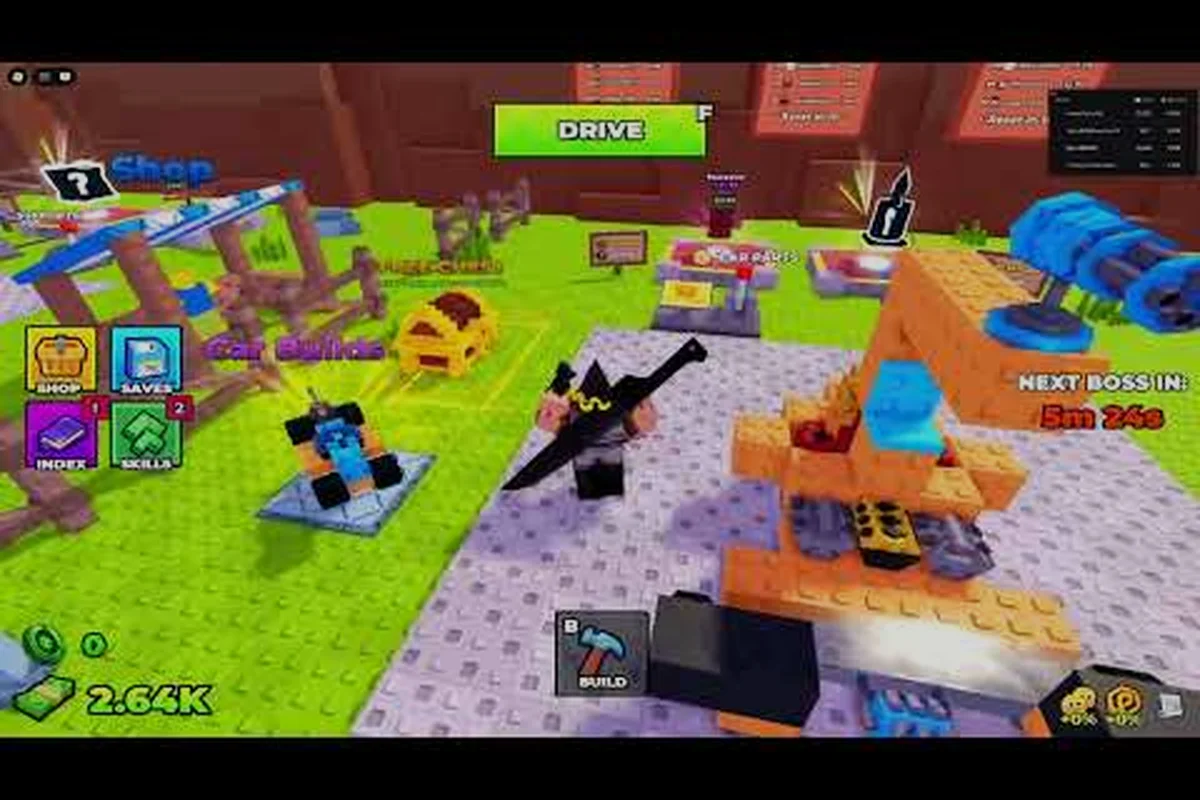
Survey every Build and Kill Zombies weapons category from Shredder blades to crossbows and turrets, then pick the rolls that actually shred the horde.
Build and Kill Zombies Best Weapon: Rolls, Supports, Picks
Find the Build and Kill Zombies best weapon for your car, from weapon rolls and support pieces to Shredder upgrades that melt the zombie swarm.