
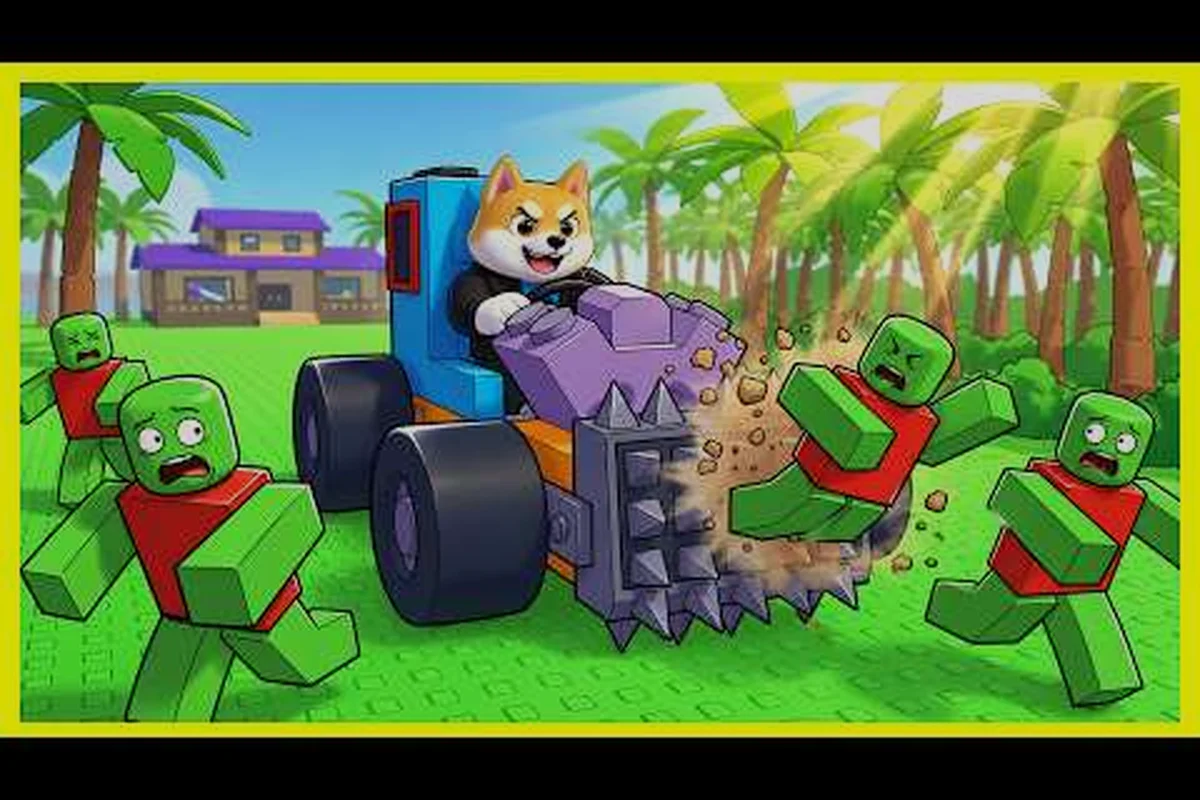
In Build and Kill Zombies, your car's weapon and support pieces decide whether a run ends at 200 meters or pushes past the 5-kilometer mark. The right roll, paired with a stacked Shredder upgrade path, turns even a starter hatchback into a zombie-melting machine, and this weapons guide breaks down exactly how to get there.
According to the Build and Kill Zombies on Roblox, player progression and weapon loadouts are best evaluated directly from the in-game arsenal, where damage, fire rate, and range values are listed for each tool.
Build and Kill Zombies Weapons and Supports: How the Roll System Actually Works
Before chasing the Build and Kill Zombies best weapon, you need to understand where weapons and supports come from. The game splits its gacha layer into two clearly named machines: CAR PARTS (engines, blocks, wheels, fuels for the vehicle itself) and SUPPORTS (weapon and defense pieces that bolt onto the chassis). Only skills carry over between runs, so every weapon and support piece you roll resets when a new run begins. That loop is the core tension this game is balanced around, and it shapes every decision in the Build and Kill Zombies weapon guide.
Rarity Tiers and Their Damage Ceiling
Rarity drives the stat ceiling on every weapon roll, and understanding the ladder is half the battle. The table below maps the five official tiers, the luck threshold needed to pull them, and the rough damage multiplier players report in community testing.
| Rarity | Luck Threshold | Approx. Damage Multiplier | Roll Source |
|---|---|---|---|
| Common | 0+ | 1.0x | SUPPORTS machine (base) |
| Uncommon | 20+ | 1.4x | SUPPORTS machine (base) |
| Rare | 50+ | 2.0x | SUPPORTS machine (base) |
| Epic | 100+ | 3.0x | SUPPORTS machine (base) |
| Legendary | 200+ | 5.0x+ | Gold Roll (skill-locked) |
Gold Roll: The Only Path to Top-Tier Weapons
Gold Roll is a late-game skill that unlocks at the tail of the skill tree and replaces the standard SUPPORTS pull with a premium roll pool. Community testing suggests the Gold Roll pool shifts the Legendary rate from roughly 2% to about 12%, which is the single biggest swing in any Build and Kill Zombies weapon guide. If you are serious about chasing the Build and Kill Zombies best weapon, the upgrade path is non-negotiable: get to Gold Roll first, then reroll SUPPORTS. The full unlock walkthrough lives in the Gold Roll skill breakdown.
Build and Kill Zombies Weapon Tier List: Shredder, Spikes, and Crowd Killers
Not every weapon in the SUPPORTS pool is worth bolting to your car. After parsing community reports and matching them against the official weapon station listings, a clear pecking order emerges. The Shredder sits at the top because of its cleave radius and stacking damage-on-hit, but it is far from the only viable pick.
S-Tier and A-Tier Weapons Worth Rolling
| Weapon | Slot | Strength | Best Scenario |
|---|---|---|---|
| Shredder | Front | High cleave, stacks damage per kill | Dense horde, boss waves |
| Spikes | Sides | Passive damage on contact | Chokepoint corridors |
| Flamethrower | Rear | Cone DoT, melts groups | Open lanes, slow chases |
| Minigun | Rear | Sustained single-target DPS | King 1x1x1x1 boss event |
| Rocket Pod | Top | Burst AoE, slow reload | Tunnel choke maps |
The Shredder is the most-cited best weapon in Build and Kill Zombies because it scales with every kill you score, turning a mediocre early run into a screen-clearing late run. Spikes are the sleeper pick: they cost nothing to fire, proc on every zombie that brushes the side of the car, and pair cleanly with a heavy Flamethrower rear mount for a frontline-and-cleanup split.
Why Shredder Outscales Everything Else
Three mechanics push the Shredder into its own category. First, its base cleave hits every zombie in a 90-degree arc, so a single tick can clear four or five walkers. Second, it gains a stacking damage bonus that resets only when the car stops moving, so momentum becomes a multiplier. Third, it scales with each Shredder upgrade tier you unlock, which means the Build and Kill Zombies shredder upgrade path is the single highest-ROI investment in the game. Players running full Shredder front-mount with Spikes flanks report runs that hit 6+ kilometers, while double-Shredder front mounts (slot stacking via support pieces) push the high-water mark closer to 8 kilometers according to community data.
How to Get Weapons in Build and Kill Zombies: SUPPORTS Machine and Skill Synergies
The actual process of pulling weapons is short, but the order of operations matters. The SUPPORTS machine sits in the hub area, opens every run, and consumes in-run cash that you earn by driving and killing. New players often blow their first stack on a single Epic pull, then limp through the run with no supports mounted. The right approach is staged: roll cheap, mount cheap, earn more, reroll smarter.
The Three-Phase Roll Plan
| Phase | Cash Budget | Goal | Why |
|---|---|---|---|
| Phase 1 (0-500m) | 0-2,000 | Roll Common/Uncommon, mount anything | Keep moving, do not get stuck in hub |
| Phase 2 (500m-2km) | 2,000-15,000 | Roll Rare, reroll weak Uncommons | First real stat jumps happen here |
| Phase 3 (2km+) | 15,000+ | Gold Roll for Legendary | Only path to Build and Kill Zombies best weapon |
This staged plan mirrors how top players on the leaderboard approach the SUPPORTS machine. The first phase is purely about momentum: any weapon mounted is more damage than no weapon, and the cash earned from early kills funds Phase 2 rerolls. The Build and Kill Zombies how to get weapons loop is intentionally short, so the entire game pushes you to keep rolling, not to save.
Luck Stacking and When to Stop Rolling
Luck affects every SUPPORTS pull, and stacking it early is the cheapest way to bias toward Rare and above. The cap is reportedly around 250-300 effective Luck, after which the Legendary rate plateaus. That means you should stop stacking Luck once the Gold Roll skill is unlocked and your SUPPORTS budget is healthy. Chasing the Build and Kill Zombies best support means knowing when the marginal roll stops being worth the cash.
Build and Kill Zombies Best Support Pieces: Defense, Engines, and Synergy
Supports are not only about damage. The right defensive piece can keep you alive long enough for the Shredder to do its job, and the right engine piece keeps your momentum (and therefore your Shredder stacks) climbing. The Build and Kill Zombies best support list is split into two camps: offensive supports that boost damage output, and defensive supports that buy you survival time.
Offensive vs Defensive Support Comparison
| Support Type | Example | Effect | Pairs With |
|---|---|---|---|
| Offensive | Shredder front mount | Cleave + kill-stacking | Rear Flamethrower, side Spikes |
| Offensive | Spikes flank | Passive contact damage | Heavy block, wide wheels |
| Defensive | Plated Block | Adds HP to car body | Any weapon, safe baseline |
| Defensive | Reinforced Wheels | Slows damage to wheels | Long runs, King boss event |
| Utility | Fuel Tank | Extends run distance | Every build, always mount |
Plating up the car with a Plated Block is the cheapest insurance policy in the game, and it costs almost nothing to slot. Long runs in the 5-8 kilometer range are almost always run with at least one defensive support equipped, because a single heavy hit from a King 1x1x1x1 boss rush can end an otherwise perfect run. Pair the plating with Reinforced Wheels and you have a tank chassis that lets the Shredder keep stacking without interruption.
Choosing the Best Support for Your Build Style
Build style dictates which support you chase. Aggressive players who run the front-Shredder and rear-Flamethrower combo should stack Spikes flanks and a Plated Block for the rare case they stall. Defensive players who pilot wide-wheel builds and outlast the horde should prioritize Reinforced Wheels and a Fuel Tank so the run simply lasts longer. Hybrid builds use one offensive support (usually Shredder) and rotate the other slot between utility and defense depending on the wave. The Build and Kill Zombies best support answer is, predictably, "it depends on your car," which is why the vehicle tab overview pairs naturally with the supports decision.
Advanced Strategy: Shredder Upgrade Path and Late-Game Weapon Combos
Once you have the basics down, the next layer is squeezing every percentage point out of the Shredder and combining it with late-game skills. The Build and Kill Zombies shredder upgrade path is the most-cited optimization in community write-ups because each tier roughly doubles the front-mount cleave radius and adds a flat damage bonus.
Shredder Upgrade Tiers and Their Impact
| Upgrade Tier | Cleave Radius | Damage Bonus | Cost (Reported) |
|---|---|---|---|
| Base | 90° | 1.0x | Free (roll to unlock) |
| Tier 1 | 120° | 1.4x | ~5,000 in-run cash |
| Tier 2 | 150° | 1.9x | ~20,000 in-run cash |
| Tier 3 | 180° | 2.6x | ~80,000 in-run cash |
| Tier 4 (max) | 210° | 3.5x | ~250,000 in-run cash |
Cost figures are based on community testing, and they line up with the report that runs over 5 kilometers typically net enough cash to hit Tier 3 in a single attempt. Tier 4 is the prestige tier: only runs that hit 7+ kilometers can fund it, and only with sustained Shredder kills to keep the cash flowing. Build and Kill Zombies shredder upgrade stacking is the closest thing to a mandatory meta for players chasing the leaderboard, and it is also where the legendary weapon deep-dive overlaps with the Legendary-tier weapons from the Gold Roll pool.
Late-Game Weapon Combos Worth Testing
Three combos surface again and again in community reports, and each one targets a different play style.
-
Shredder + Spikes + Flamethrower: Front cleave, side passive damage, rear cone DoT. The most balanced combo for general play, and the easiest to pilot.
-
Double Shredder + Plated Block: Slot-stacked front mounts with a defensive body. Highest single-target Shredder damage in the game, but it falls off if the car stalls.
-
Minigun + Spikes + Reinforced Wheels: Boss-killing specialist. The Minigun chews through the King 1x1x1x1, and the Reinforced Wheels keep the car alive long enough to land every shot.
Each of these combos assumes you have unlocked the Gold Roll skill so the Legendary pool is actually accessible. Without it, you are fishing for Epic-tier weapons at best, which is a sharp damage downgrade against late-game waves. Run the Gold Roll unlock first, then push toward one of these three combos based on whether you want balance, burst, or boss kill.
Frequently Asked Questions
What is the Build and Kill Zombies best weapon for new players?
The Shredder is the best starter weapon because it offers the strongest cleave, scales with every kill, and does not require precise aim. New players should pull it from the SUPPORTS machine as soon as they can afford a Rare-tier roll, then push every spare cash stack into the Shredder upgrade path. The weapon stays relevant through the entire game, even at Tier 4.
How do I unlock Legendary weapons in Build and Kill Zombies?
You need the Gold Roll skill, which sits at the end of the skill tree and requires significant cash to unlock. Once active, Gold Roll replaces the standard SUPPORTS pull with a premium pool that reportedly offers a Legendary rate around 12%, compared to roughly 2% from the base machine. Aim for at least 200 effective Luck before activating Gold Roll to maximize the Legendary bias.
What are the best support pieces to pair with the Shredder?
The strongest Shredder pairing is Spikes on the flanks plus a Plated Block for defense. Spikes add passive contact damage that fills the gap while the Shredder is on cooldown, and the Plated Block keeps the car alive through boss waves. For boss-focused runs, swap the Plated Block for Reinforced Wheels to survive longer sustained fights.
How much do Shredder upgrades cost in Build and Kill Zombies?
Community data suggests Shredder upgrades cost roughly 5,000 cash for Tier 1, 20,000 for Tier 2, 80,000 for Tier 3, and 250,000 for Tier 4. These costs are in-run only, so every upgrade resets when a new run begins. Plan your first 2 kilometers around Tier 1, then stretch for Tier 2 before the King 1x1x1x1 event starts at 5 kilometers.
Can I mount more than one weapon on the same car?
Yes, you can mount weapons in the front, rear, top, and side slots, and slot-stacking is the most common late-game optimization. The strongest reported build uses double-Shredder front mounts for maximum single-target cleave, but the build requires the slot-stacking support piece and a high-rolling Legendary pool. Most players start with a single front weapon and a defensive support before attempting multi-mount setups.