
Rolls & Luck
Build and Kill Zombies roll guide covering both machines, the five rarity bands, drop odds, duplicate handling and how luck stacking changes your results.
Introduction
Two roll machines run the entire economy of Build and Kill Zombies, and understanding the difference between them is the fastest way to stop wasting cash. The CAR PARTS machine produces vehicle pieces split across four categories - BLOCKS, ENGINES, WHEELS and FUELS - while the SUPPORTS machine produces the weapons and defensive pieces that bolt onto the chassis. Both machines follow the same interaction: press Q to choose a category, confirm the selection, then press E to roll. Every result displays its rarity and its drop odds, so the machine tells you exactly what you were chasing and what you got. Duplicate parts accumulate rather than being wasted, and luck from the skill tree plus paid boosts shifts the odds of the higher rarity bands without changing the categories themselves. This section covers how rolling works and how to make each roll count.
Roll Odds & Rarity Bands
| Rarity band | What it typically yields | Where it comes from | Does luck help |
|---|---|---|---|
| Common | Baseline blocks, wheels and fuels that fill out a starter car | Both machines, most frequent outcome | Marginal - this is the floor, not the target |
| Uncommon | Early support pieces such as the Glass Cylinder and the Shredder | SUPPORTS machine, CHASSIS-adjacent part rolls | Yes - first band where luck visibly changes outcomes |
| Rare | Stronger engines, wheels and weapon mounts that carry a mid-game run | Both machines once standard parts are covered | Yes - the main target of Luck I and Luck II |
| Epic | High-tier parts worth rebuilding a blueprint around | Both machines, infrequent | Yes - where stacked luck and boosts matter most |
| Legendary | The rarest rolls in the game, the reason luck stacking exists | Both machines, the lowest odds shown on the result card | Yes - the band every luck upgrade is aimed at |
| Controls | Q picks a category, CONFIRM locks it, E rolls and shows rarity plus odds | Both machines, identical interaction | Applies to the result, not the controls |
Rarity Explained
Common
The baseline band that fills out a starter car and never stops appearing
Uncommon
The first band where luck visibly changes what a machine hands you
Rare
The band that carries a mid-game run through stronger engines, wheels and mounts
Epic
High-tier parts good enough to justify rebuilding an entire blueprint around
Legendary
The rarest results in the game and the reason every luck upgrade exists
Duplicate Storage
What happens to the parts you roll twice, and why a bad streak is never a total loss
Core Mechanics
Both machines use the same four-step interaction. Approach the machine, press Q to open the category selector, choose what you want, confirm the selection and then press E to roll. The result appears with its rarity band and its drop odds attached, so the game is unusually transparent about what just happened. Duplicate parts are retained rather than discarded, which means a long grind accumulates a stock of spares instead of nothing. Luck from the skill tree affects both machines simultaneously, which is why it is the first branch of the permanent tree rather than a later luxury, and temporary boosts can be layered on top for a limited window. Critically, nothing rolled survives the run: parts and supports are consumed when the car stops, so the only rolls with lasting value are the ones that get used within the run they were rolled for.
Advantages
The two-machine split is the system's best feature, because it lets you target the exact bottleneck you have rather than gambling on one combined pool. Drop odds are displayed on every result, which removes most of the guesswork about whether a band is realistically reachable. Duplicates accumulate instead of vanishing, so even an unlucky streak leaves you with usable spares. Luck upgrades apply to both machines at once, meaning a single permanent purchase improves every future roll regardless of what you are chasing. The shared Q, confirm, E interaction means there is nothing new to learn when you switch machines, and paid boosts are optional rather than required to make progress. Everything about the system is legible, which is rarer than it sounds in a genre full of opaque rolling mechanics.
Challenges
Luck improves odds rather than guaranteeing anything, so a bad streak remains entirely possible after every upgrade and can make the purchase feel wasted. Because nothing carries between runs, a strong roll only pays if the car survives long enough to use it, which couples the roll economy tightly to fuel management. The two machines competing for the same cash means early income is always split, and a player who rolls evenly across all four part categories tends to end up with a mediocre car in every respect. Rarer bands are effectively out of reach without stacked luck, and precise per-item drop rates are not published beyond what the result card shows. Paid boosts exist, which can make progress feel gated behind spending for players who cannot grind the hours.
Frequently Asked Questions
How do I roll at the machines?+
Does luck stack between the skill tree and boosts?+
What happens to duplicate parts?+
Quick Tips
Know your bottleneck before you walk up to a machine. The CAR PARTS and SUPPORTS machines draw on the same cash, so choosing a category blindly splits your income, while deciding between range and firepower first means every roll goes at the problem actually ending your runs. Luck improves odds rather than guaranteeing anything, so plan around the average rather than the best case.
Press Q, confirm, then E, and read the odds printed on the result. The game shows rarity and drop chance on every roll, which tells you whether a band is realistically reachable with your current luck rather than leaving you guessing about whether to keep rolling. Luck improves odds rather than guaranteeing anything, so plan around the average rather than the best case.
Keep duplicates rather than treating them as waste. Parts and supports are consumed when a run ends, so a stock of spares is what lets you rebuild a different chassis next run without spending fresh cash, and even a bad streak leaves you with a full car's worth of pieces. Luck improves odds rather than guaranteeing anything, so plan around the average rather than the best case.
Featured
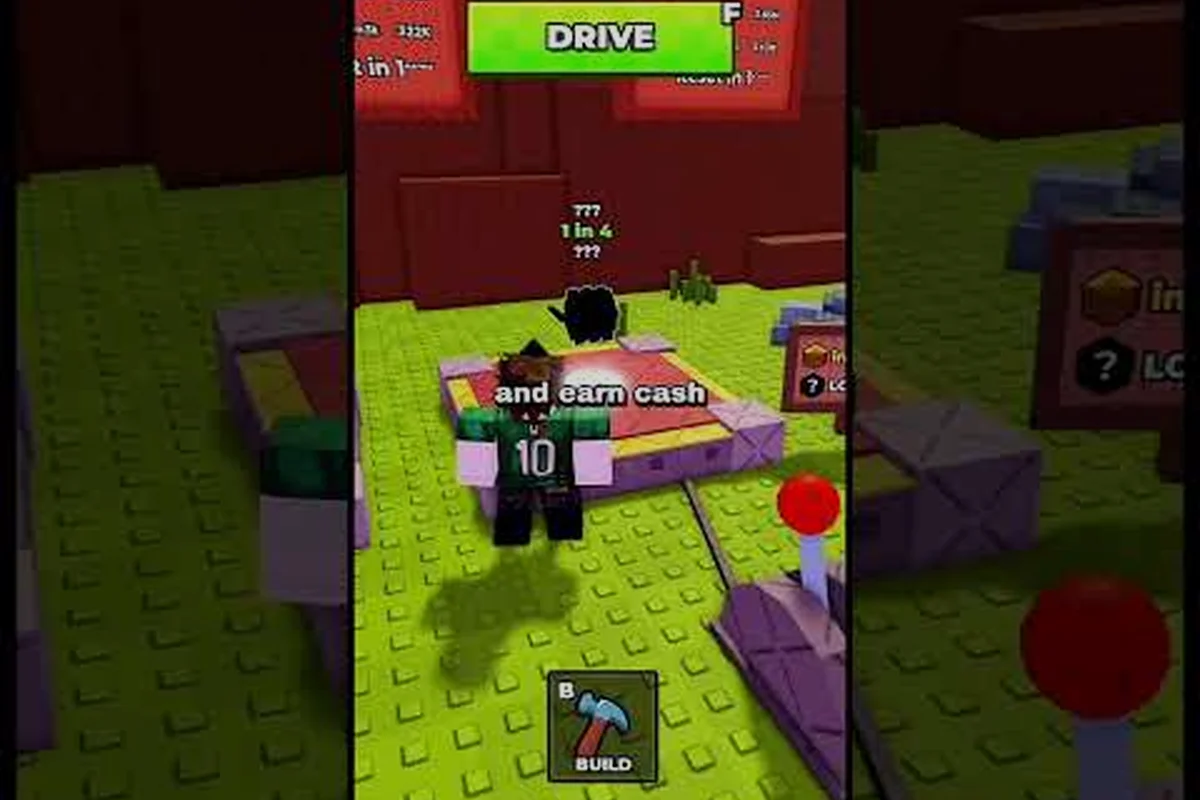
Build and Kill Zombies Roll Guide: How Each Machine Works
Master the Build and Kill Zombies roll guide by learning every parts and supports machine, category swap timing, and the actual drop rates behind each pull.
Build and Kill Zombies Best Roll: Rarest Parts to Chase
Chase the Build and Kill Zombies best roll by learning what each machine drops, how luck shifts the odds, and which rare parts are worth keeping.
Build and Kill Zombies How to Get Roll Tokens: Free Pulls
Stack Build and Kill Zombies how to get roll tokens tactics, from daily free pulls and duplicates to the pity system that finally lands a rare drop.
All Articles
Build and Kill Zombies Luck Boost: 2x Passes and Rerolls
Stack the Build and Kill Zombies luck boost with server rolls, auto-pull timing, and roll token tactics that push more rare parts onto your car in 2026.
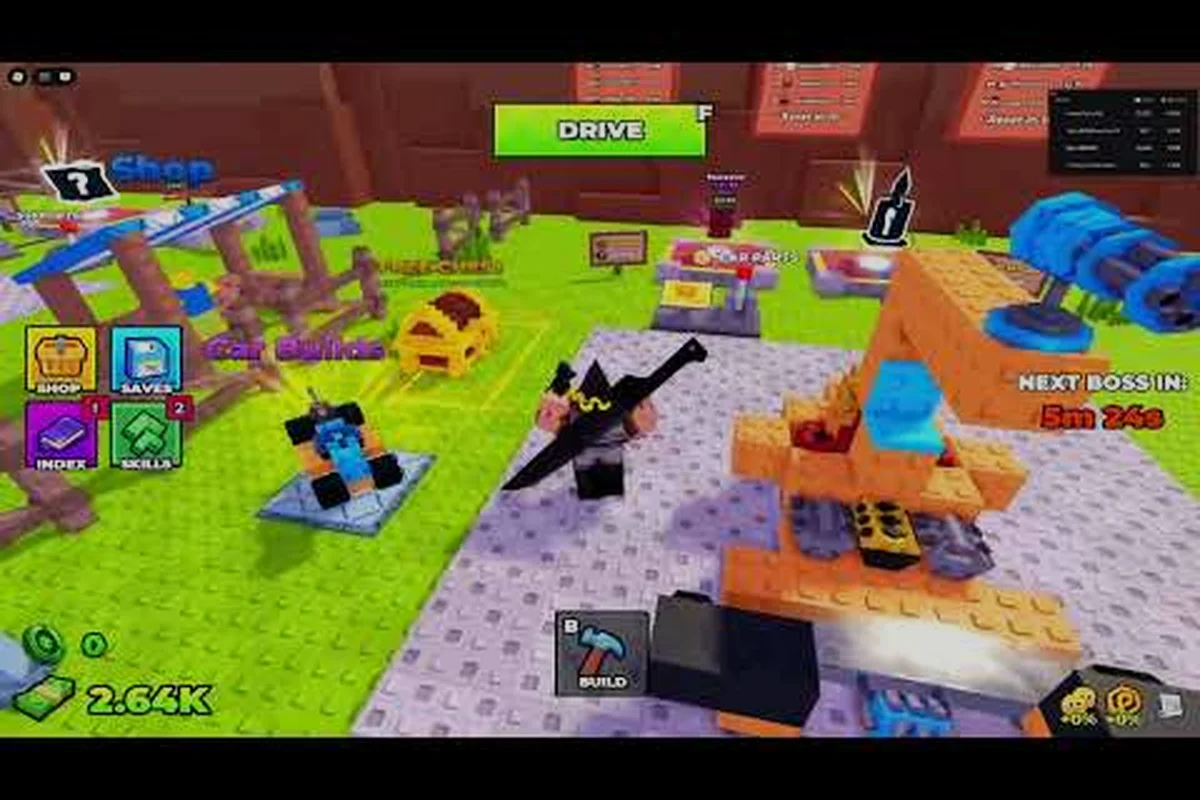
Build and Kill Zombies Luck Stat Explained for New Players
Decode the Build and Kill Zombies luck stat, learn whether luck stacks across sources, and plug numbers into the roll calculator for gold-tier odds.
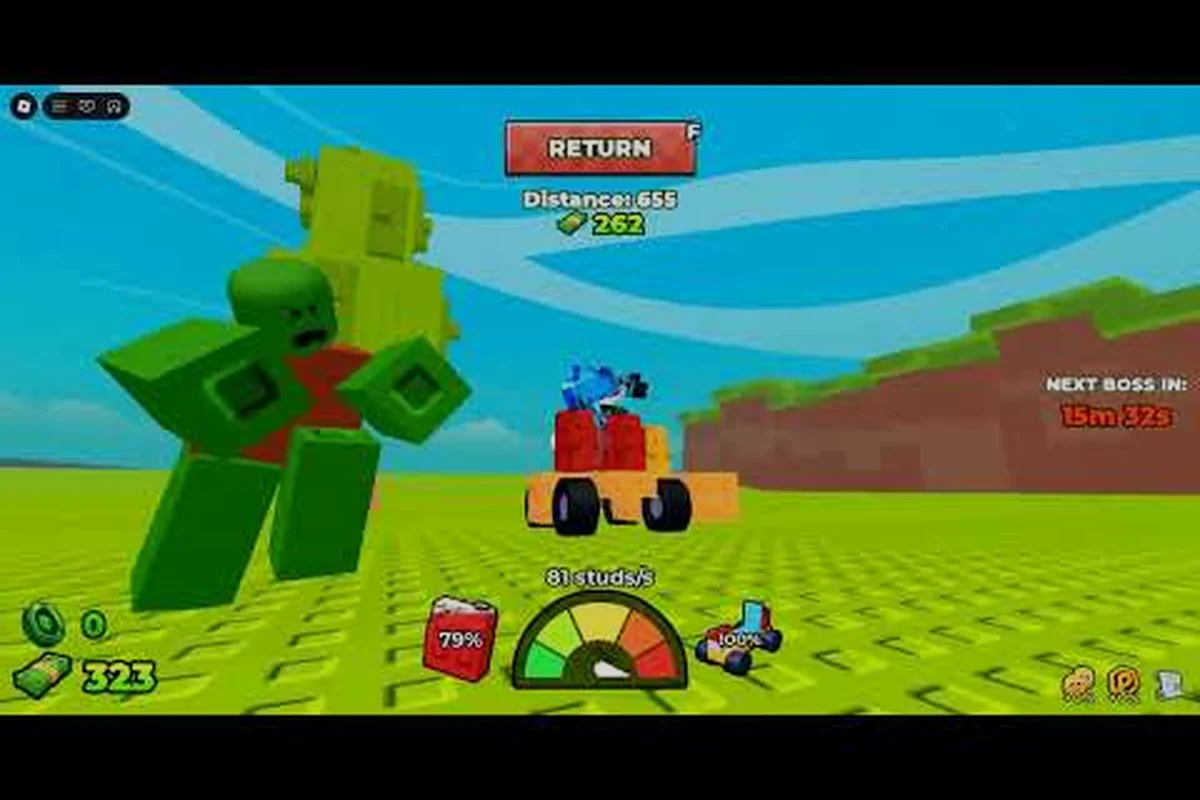
Build and Kill Zombies Rarity Chances: Common to Legendary
Break down the full Build and Kill Zombies rarity chances ladder from common to legendary, so you know exactly what each pull can actually drop.
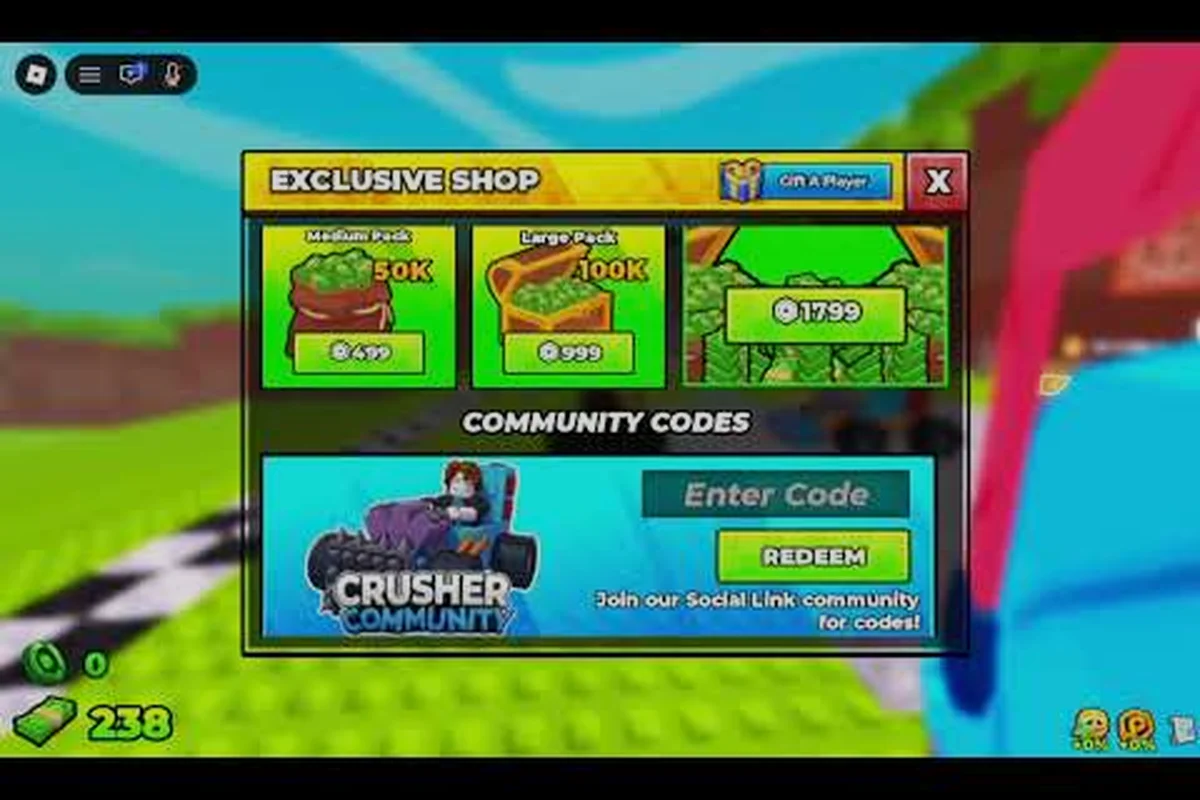
Build and Kill Zombies Roll Tips: Faster Rolls and Rerolls
Sharpen your Build and Kill Zombies roll tips with 2026 rarity data, 2x and 4x luck windows, and small habits that turn average pulls into rare drops.