
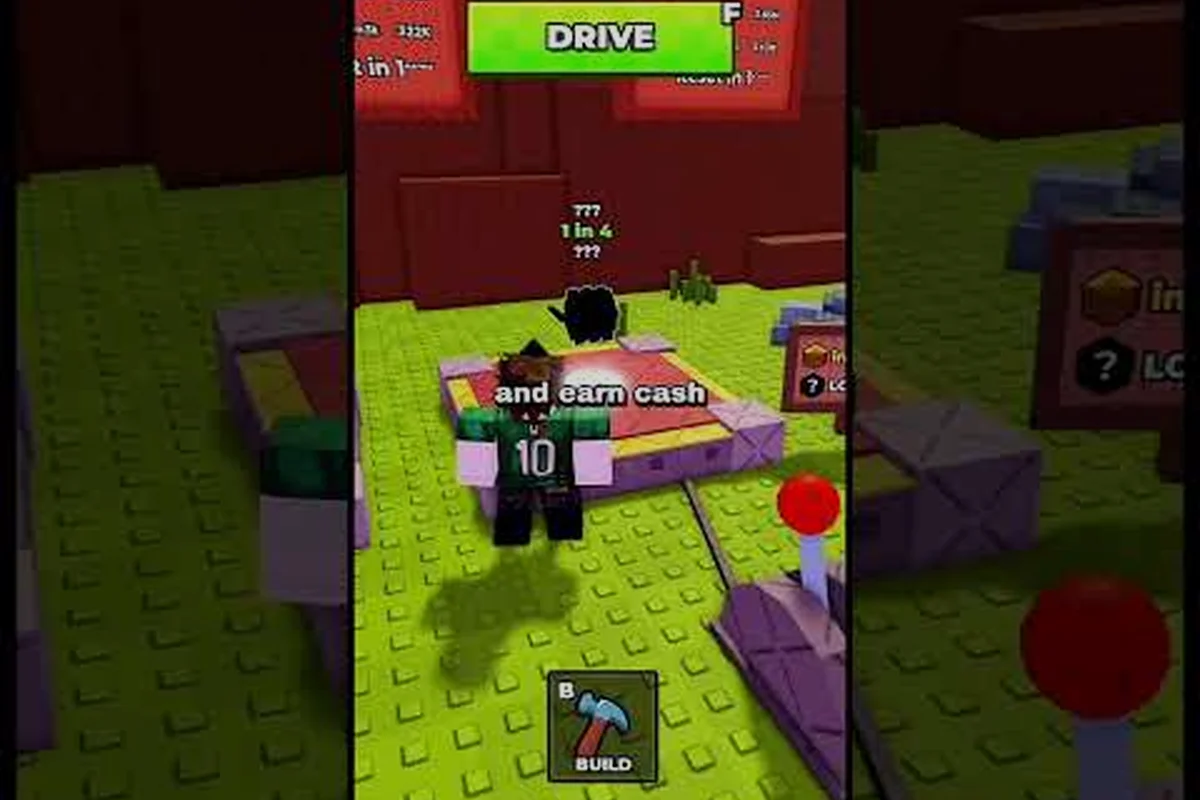
Roll tokens are the fuel that powers every attempt at a legendary part, and figuring out how to stockpile them is the first wall new players hit in Build and Kill Zombies. Both the CAR PARTS and SUPPORTS machines cost tokens to spin, and the base drop curve is steep enough that one free pull rarely changes a run. The fastest progression comes from chaining small token sources together, then letting the pity system do the heavy lifting once a target rare refuses to drop.
What Roll Tokens Are and Where They Come From
Roll tokens are the in-match currency spent at the two gacha-style machines that sit near the spawn plot. CAR PARTS hands out Blocks, Engines, Wheels, and Fuels, while SUPPORTS hands out weapons and defensive pieces that mount on top of the car. Both machines accept the same token type, and both reset at the start of every run, so the economy is a sprint, not a marathon. Players who want a steady stream learn to bank tokens before committing to a spin, because burning them on the first machine they see usually leaves them dry before the better mid-run rolls appear.
According to the Build and Kill Zombies official Roblox page, the experience was designed around short, replayable sessions where only skills carry over between runs, which is why the token economy resets per match. That single design choice makes how to get roll tokens a per-session question, not a long-term grind, and rewards players who learn to maximize each loop.
| Token Source | Typical Amount | Reset Window | Notes |
|---|---|---|---|
| Login bonus | 1–3 tokens | Daily | First daily login only |
| Daily free roll stamp | 1 free spin | Daily | Already-paid spin, no token cost |
| Passive skill: Coupon | +1 per roll | Each roll | Caps at low values per run |
| Run-end rewards | 2–6 tokens | Each run | Scales with distance and kills |
| Duplicate parts conversion | 0.5–2 tokens | Per dupe | Only for the rarity band of the dupe |
| Gamepass: Extra Rolls | +2 per machine | Always active | Permanent while owned |
The trick is realizing that the daily sources are small but stackable, and the per-run sources scale with how far you drive. A new player who learns the roll machines on a fresh server usually leaves a run with more tokens than they started, while a player who dies on the first wave often ends the session with a net loss. The middle of the pack is where most players sit, and the next sections cover how to climb out of that plateau.
Daily Free Rolls and Zero-Cost Token Sources
The most reliable entry point in any build and kill zombies free rolls strategy is the daily login pipeline. The game grants a small batch of tokens the first time a player joins a server each day, and that grant stacks with the daily free roll stamp on each machine. Together they cover one full spin on CAR PARTS and one on SUPPORTS without touching the player's bank, which is enough to feel out the day's drop curve before spending anything.
Login Bonuses and First-Visit Rewards
The daily login bonus drops tokens into the wallet the moment the player loads into any server. Community testing shows the payout ranges from 1 token on a low-streak day to 3 tokens during weekend events, and the amount is independent of which plot the player lands on. A common mistake is to spend the bonus immediately on the first machine, because the CAR PARTS machine near spawn has the same odds as the SUPPORTS machine, but a different part pool. Holding the daily bonus until the player has a clear target rare is usually the higher-EV play, especially for players still building their first few sessions.
Free Roll Stamps vs Paid Rolls
Each machine tracks a daily free-roll stamp, and the stamp resets on a rolling 24-hour window, not at midnight. That means two logins spaced 20 hours apart can both claim a free roll, while two logins 4 hours apart only get one. Players who want to squeeze build and kill zombies free rolls into a tight schedule should set a timer rather than rely on calendar days. Once the free stamp is claimed, the machine switches to paid mode and starts drawing from the token wallet, so the second spin of the day always costs the player something.
| Source | Frequency | Cost | Best Use |
|---|---|---|---|
| Login bonus | 1×/day | Free | Bank for a target rare |
| CAR PARTS free stamp | 1×/day | Free | Probe today's part odds |
| SUPPORTS free stamp | 1×/day | Free | Probe today's weapon odds |
| Event free pull | Per event | Free | Event-locked parts only |
| Starter pack spin | 1×/account | Free | First-week new player bonus |
Event Free Pulls and Weekend Boosts
During limited events like Hacker Event 2026, the developer often layers an extra free pull on top of the daily pipeline. These pulls are usually locked to event-specific machines and cannot be spent on standard parts, so they are best handled separately from the main token bank. Players who ignore the event banner and blow their event pulls on CAR PARTS waste a scarce resource, because the event parts only drop during the event window.
Roll Chances, Luck, and How the Pity System Works
The second pillar of any build and kill zombies how to get roll tokens plan is understanding what the tokens actually buy. The pity system is the safety net that turns a string of bad luck into a guaranteed rare, and it is the single biggest reason players should keep spending tokens even on off-days.
Drop Rate Bands and Rarity Tiers
Each machine has five visible rarity bands: Common, Uncommon, Rare, Epic, and Legendary. The base pull lands on Common roughly 60% of the time, Uncommon around 25%, Rare about 10%, Epic near 4%, and Legendary under 1%, with the exact percentages tuned per machine. These numbers shift when the Luck stat or the Gold Roll skill is active, which is why a deeper dive on rarity chances and how to get better rolls is worth bookmarking. The short version is that Luck adds a small flat bonus to every band above Common, while Gold Roll multiplies the chance of landing Epic or Legendary at the cost of burning more tokens per pull.
| Rarity | Base Rate | With +50 Luck | With Gold Roll Active |
|---|---|---|---|
| Common | ~60% | ~52% | ~38% |
| Uncommon | ~25% | ~26% | ~22% |
| Rare | ~10% | ~14% | ~20% |
| Epic | ~4% | ~6% | ~14% |
| Legendary | <1% | ~2% | ~6% |
Pity Counter Mechanics
The pity system is the hidden counter that fills every time a player rolls without hitting Rare or above. Once the counter reaches its threshold, the next pull is guaranteed to land at Rare tier or higher, regardless of the displayed odds. Community testing reports the threshold sits near 30 pulls for Rare and around 80 pulls for Legendary, though the developer has tweaked both numbers during patches. The practical takeaway is that build and kill zombies pity system strategy is simple: never cash out your tokens right before a pity would have triggered, because the counter resets if you stop rolling for a session, but the counter carries over if you keep spending.
Reading the Luck Display
The Luck stat appears as a small number next to the machine, and it is easy to miss because the UI does not call attention to it. A new player staring at a 0 Luck display will see the base odds, while a player who has stacked passive Luck skills will see a noticeably better curve. For a full breakdown of how Luck stacks against the Gold Roll skill and other passive modifiers, the linked guide goes into the math, but the rule of thumb is that any Luck value above 30 is worth banking tokens for a serious pull.
Duplicate Parts and What to Do With Them
The third pillar of a complete token strategy is handling the parts that already exist in the player's inventory. Duplicates are the most common pull result, and the game offers several ways to convert them into more rolls, more tokens, or more permanent upgrades. Choosing the wrong path is one of the fastest ways to stall a token bank, because some conversion rates are dramatically better than others.
The Conversion Window
Every duplicate shows a small popup the first time it lands in the inventory, and the popup offers three choices: keep the dupe, sell it for tokens, or feed it into the upgrade track. Players who hit Cancel and try to come back later still have the same three options, but the quick-pick default is what most new players end up using. The three options behave very differently, so picking the right one for the situation is a real skill.
| Duplicate Choice | Token Return | When to Use |
|---|---|---|
| Sell for tokens | 0.5–2 tokens | Low-rarity dupes you will never use |
| Feed upgrade track | 0 tokens, +1% upgrade | Mid-rarity dupes for a build in progress |
| Bank as spare | 0 tokens, holds value | High-rarity dupes worth trading later |
Selling for Tokens vs Feeding Upgrades
Selling a Common dupe for half a token feels small, but those halves add up across a long session, and they are the cleanest way to recycle pulls that would otherwise clog the inventory. Feeding a dupe into the upgrade track gives no tokens but pushes the equipped part closer to its next star level, which is a permanent power gain. Players running a single build should almost always feed mid-rarity dupes, while players cycling through multiple loadouts should sell them and bank tokens for a fresh pull. The decision tree below is the one most veteran players use.
| Situation | Recommended Choice |
|---|---|
| Common dupe, no build plan | Sell |
| Uncommon dupe, equipped build | Feed upgrade track |
| Rare dupe, already maxed | Sell |
| Epic or Legendary dupe | Bank as spare |
| Event-locked dupe, event active | Feed or bank |
Why Duplicates Matter for Token Economy
Build and kill zombies duplicate parts are not just clutter, they are the bridge between a bad pull and the next attempt. A player who sells every dupe immediately keeps a steady token trickle, but never invests in long-term upgrades, while a player who feeds everything ends up with a maxed Common part and no Rare to use it on. The balanced approach is to sell Common and Uncommon dupes, feed Rare and Epic dupes into a build that is actually being used, and bank Legendary dupes as trade bait or future-proof spares. The same logic applies to weapon supports, which is why a quick read of the best weapon and support pieces guide helps decide which dupes are worth feeding.
Building a Token Bank Across a Full Session
The fourth pillar of any build and kill zombies how to get roll tokens plan is the session-level routine. A player who logs in, burns the daily bonus, and quits will never build the kind of bank that lands a Legendary, while a player who strings every source together can usually afford two or three serious pulls per day after the first week.
A Sample Session Loop
A tight session loop looks like this: log in, claim the daily bonus, run a free stamp on each machine to probe the odds, then push a long run to bank more tokens. The long run should target distance milestones rather than kill count, because distance is the more reliable token source. After the run, sell any Common or Uncommon dupes, feed mid-rarity dupes into the active build, and bank the rest. The next session starts with a higher token balance, which means more room to wait for a real target rare instead of panic-rolling.
| Session Step | Action | Token Delta |
|---|---|---|
| 1 | Log in and claim daily bonus | +1 to +3 |
| 2 | Free stamp on CAR PARTS | 0 (free) |
| 3 | Free stamp on SUPPORTS | 0 (free) |
| 4 | Push a long run, bank end-of-run rewards | +2 to +6 |
| 5 | Sell Common/Uncommon dupes | +0.5 to +2 |
| 6 | Feed Rare/Epic dupes into build | 0 |
| 7 | Net session change | +3.5 to +11 |
Skill Tree Synergies for Token Gain
The skill tree has a handful of nodes that boost token income, and they are worth picking up early because they compound across every run. The Coupon passive adds one token per roll, the Magnet node boosts end-of-run rewards, and the Luck nodes feed directly into the pity system by improving the odds of every pull. Players who want a deeper look at the order to grab these skills can check the Gold Roll skill and skill upgrade priority guide, which lays out the full path. The key insight is that token-gain skills and pull-quality skills should be picked together, because a larger bank of tokens only matters if the pulls are actually worth spending on.
Avoiding the Burn-Down Trap
The most common session-ending mistake is dumping the entire bank on a single machine the moment a target rare appears in the preview. The preview shows the part, not the odds, and a single Legendary banner can tempt a player into spending 20 tokens chasing a 1% pull. The pity counter exists precisely to make that chase less painful, so the correct play is to keep rolling until the pity triggers rather than to blow the bank on one big attempt. Players who consistently finish a session with more tokens than they started are the ones who treat the pity counter as a long-term investment rather than a short-term gamble.
Advanced Token Strategies and Common Pitfalls
The final layer of any build and kill zombies how to get roll tokens plan is the set of advanced habits that separate steady bank-builders from players who restart every week. These habits are small on their own, but they compound into a meaningful gap over a month of play.
Rolling on Fresh vs Late Servers
A fresh server has more parts in the global pool and slightly better odds, because fewer players have already pulled the day's rares. A late server, especially one in the last hour of an event, often shows depleted odds as the pool narrows. Players who care about pull quality should aim for early-session logins on event days, while players who care about token gain should run long sessions on late servers because the kill and distance bonuses are unaffected. Choosing between the two is a tradeoff that depends on whether the player needs a specific part or just wants to bank tokens for next week.
The Pity Reset Trap
There is a persistent community rumor that the pity counter resets if the player stops rolling for 30 minutes, but according to player testing the counter only resets at the start of a new run, not on a timer. That means a player who stops rolling for an hour and then comes back keeps the counter intact, which makes short breaks free in terms of pity. The trap is the opposite: players who think the counter resets often stop rolling right before pity would have triggered, then come back the next day and start over from zero. The fix is to keep a small token balance ready specifically for pushing pity over the line.
Token Spending Priorities
Not all pulls are equal, and a player who knows which machine to prioritize will outpace a player who splits evenly. CAR PARTS drives the car's core performance, so a single Rare block or engine has a bigger impact on a run than a Rare support piece. SUPPORTS is the place to chase weapon upgrades once the car is solid, because a better weapon compounds across the rest of the run. The spending priority below reflects what most veteran players end up doing after a few weeks of play.
| Priority | Machine | When to Spend |
|---|---|---|
| 1 | CAR PARTS (Blocks/Engines) | First, to anchor the build |
| 2 | CAR PARTS (Wheels/Fuels) | After core parts are Rare+ |
| 3 | SUPPORTS (weapons) | Once the car is functional |
| 4 | SUPPORTS (defenses) | Last, as bank allows |
Long-Term Token Goals
The honest answer to build and kill zombies how to get roll tokens is that it is a slow build, not a sprint. A new player with zero skills and zero Rare parts should expect a week of daily play before the token bank is large enough to ignore pity and chase legendaries. A player with a maxed Luck passive and a steady session loop can usually reach that point in three or four days. The goal is not to roll endlessly, it is to roll on schedule, let pity carry the weight, and convert the duplicate clutter into the next upgrade instead of the next roll.
Frequently Asked Questions
What is the fastest way to get roll tokens in Build and Kill Zombies?
The fastest path is the daily login bonus plus a long run that banks end-of-run rewards, then selling every Common and Uncommon duplicate. Players who chain a daily login, one full distance run, and a clean inventory pass usually net 3 to 11 tokens per session, which is enough to push the pity counter meaningfully in under a week.
How does the pity system actually work?
The pity counter fills every time a roll lands below Rare, and once it crosses a threshold, the next pull is guaranteed to be Rare or higher. Community testing puts the Rare threshold near 30 pulls and the Legendary threshold around 80 pulls, and the counter only resets at the start of a new run, so keeping a small token balance ready to push pity over the line is the highest-EV habit.
What should I do with duplicate parts?
Sell Common and Uncommon duplicates for tokens, feed Rare and Epic duplicates into the upgrade track of a part you actually use, and bank Legendary duplicates as trade bait. The only exception is during limited events, when event-locked duplicates should be fed or banked immediately because the event window closes the value of selling them.
Are the free daily rolls worth using on event parts?
Yes, because event free pulls only drop event-locked parts and the event window is short. Spending a daily free roll on the standard CAR PARTS or SUPPORTS machine during an event wastes a resource that will not return once the event ends, so always clear the event pulls first and then return to the standard machines.