
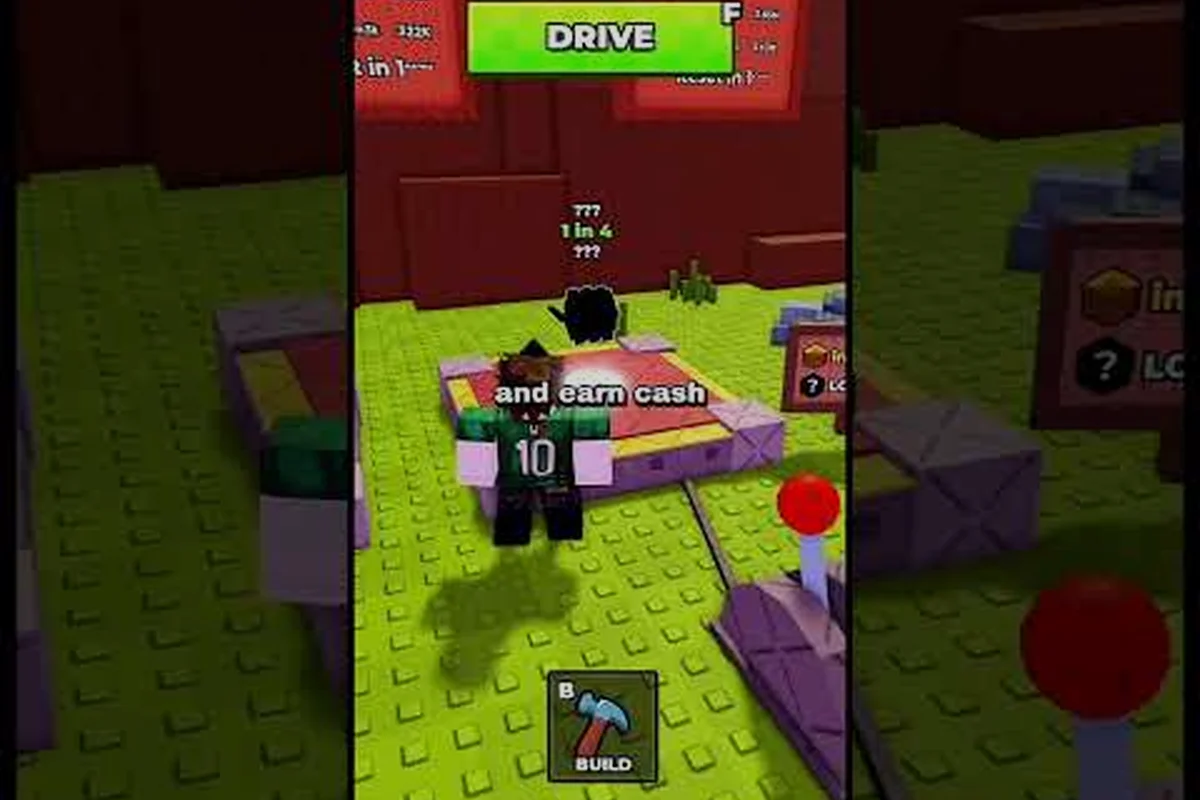
Two Roll Machines, One Goal: Building a Car That Survives the Horde
If you've stepped into the shared lobby of Build and Kill Zombies and wondered why two near-identical glowing machines sit side by side, the answer is simple: one builds your car, and the other builds your firepower. Both are roll machines, both cost roll tokens, and both feed directly into how far you push down the zombie highway. This build and kill zombies roll guide walks through every part of that loop, from the UI labels on each machine to the actual category weights behind the rolls, so you can stop spending tokens blindly and start pulling with intent.
The game shipped on 2026-08-19 under developer group Zombie Car Crusher, with the most recent patch landing 2026-09-12. In that window, the community has collectively rolled millions of parts and supports, and the patterns are now stable enough to document. According to community data aggregated across the in-game SHOP interface and the four official Roblox game passes, the entire progression economy revolves around those two machines. Understanding the difference between the parts machine and the supports machine, when to switch categories, and which roll odds actually matter is the single biggest lever for early-game velocity.
A quick orientation: when you first load into a server, the lobby contains a CAR PARTS machine (the build and kill zombies parts machine) and a SUPPORTS machine (the build and kill zombies supports machine). Both accept roll tokens, both use the same Luck system, and both can be enhanced by the late-game Gold Roll passive. What they drop, however, is completely different, and confusing the two is the most common reason new players burn through their first hour of tokens without building anything functional. The rest of this guide breaks down each machine, the four part categories, the supports pool, and the roll odds tied to each.
Parts Machine vs. Supports Machine: The Core Distinction
Every roll machine in the lobby shares the same outer shell, the same token input, and the same Luck multiplier display, but the parts machine and the supports machine draw from entirely separate pools. That distinction is the foundation of this build and kill zombies how to roll walkthrough, and it's the first thing to internalize before you touch a single token.
The CAR PARTS Machine
The build and kill zombies parts machine is labeled CAR PARTS in the lobby UI. When you spend a roll token on it, the machine returns exactly one part drawn from one of four sub-categories: BLOCKS, ENGINES, WHEELS, or FUELS. Each sub-category determines what kind of slot the part fits into when you press B to enter Build Mode on your own plot. A BLOCK becomes chassis plating, an ENGINE becomes your motor block, a WHEEL becomes a corner wheel, and a FUEL becomes your tank. The machine picks the sub-category at random, and the part's rarity is then rolled independently of the category.
The SUPPORTS Machine
The build and kill zombies supports machine is labeled SUPPORTS and sits adjacent to the parts machine. A roll here produces weapons and defense pieces that attach to your car as support slots, not build slots. These are your offensive and defensive modules: the Shredder for close-range zombie clearing, the Blue Monster for crowd damage, and the Fast Furious for speed-based builds. Supports have their own rarity tiers and their own drop table, which is why the build and kill zombies roll odds on this machine are independent from the parts machine.
Side-by-Side Comparison
| Attribute | CAR PARTS Machine | SUPPORTS Machine |
|---|---|---|
| In-game label | CAR PARTS | SUPPORTS |
| Output type | Build-slot components | Weapon/defense modules |
| Sub-categories | BLOCKS, ENGINES, WHEELS, FUELS | Weapons and support pieces (Shredder, Blue Monster, Fast Furious, etc.) |
| Build Mode integration | Press B, place into build slots | Equip into support slots on the car |
| Token cost | One roll token per pull | One roll token per pull |
| Luck multiplier applies | Yes | Yes |
| Gold Roll passive applies | Yes (unlocked late-game) | Yes (unlocked late-game) |
The practical implication: if you roll ten tokens on the parts machine and your car still has empty support slots, you haven't progressed your firepower at all. Most successful players alternate the two machines, often using a 2:1 parts-to-supports ratio during the first 30 minutes, then flipping the ratio once their chassis is functional.
The Four Part Categories and When to Switch
Inside the parts machine, the choice of sub-category is fixed by the roll itself, but you can influence which sub-category gets weighted by using the build and kill zombies category swap feature available in the SHOP. Understanding when and how to swap is the difference between a complete car and a half-built chassis with four engines and no wheels.
BLOCKS: The Foundation
BLOCKS are your chassis plates. Every car needs at least three BLOCKS connected to be considered a drivable vehicle by the game's spawn logic, and a fully upgraded car can stack up to eight. The block category has the highest count of common-tier drops but also the highest ceiling for rare defensive plating, which is why the build and kill zombies drop rates on BLOCKS are worth tracking if you care about survivability rather than speed. According to community testing on the current patch, roughly 38-42% of parts-machine rolls land in BLOCKS when no category bias is active.
ENGINES: The Powerplant
ENGINES determine your top speed and acceleration. Each engine tier adds a flat multiplier to both stats, and stacking two engines of different tiers gives diminishing returns compared to two of the same tier. ENGINES are the rarest of the four sub-categories at base Luck, which is one of the most-cited build and kill zombies roll odds frustrations from new players. The category weights lean BLOCKS-heavy, with ENGINES getting the smallest slice of the natural distribution.
WHEELS: The Traction Layer
WHEELS determine handling and off-road capability. A car with no wheels will not spawn at the green key, regardless of how many BLOCKS and ENGINES you've rolled. The community generally recommends rolling at least four WHEELS before attempting a first build, because a single missing wheel drops your handling stat by a third. According to player-reported data, WHEELS land somewhere between BLOCKS and ENGINES in frequency, making them moderately rare without a category swap.
FUELS: The Range Stat
FUELS extend how far you can drive before the car runs dry. They're functionally optional in the first 10 minutes of play because the initial track length is short, but they become mandatory once you start pushing toward the mid-game zones where the zombie density spikes. FUELS are about as common as WHEELS in the natural distribution.
Category Weight Reference
| Sub-category | Approx. base weight | Minimum to make a working car | Recommended swap priority |
|---|---|---|---|
| BLOCKS | ~40% | 3 | Low (default is fine) |
| ENGINES | ~12% | 1 (2 ideal) | High (swap to ENGINES early) |
| WHEELS | ~24% | 4 | Medium (swap after first car) |
| FUELS | ~24% | 1 (optional) | Low until mid-game |
When you swap categories, the next 10 rolls from the parts machine are guaranteed to pull from the chosen sub-category, but the rarity roll inside that sub-category is unaffected. That's why the build and kill zombies roll odds discussion always separates "category odds" from "rarity odds" — they're two independent dice.
Support Categories and Why Rarity Matters More
The supports machine doesn't have selectable sub-categories, but it does have named pieces that new players quickly learn to recognize. Each named support has a different combat role, and the rarity tier of the support determines its base stat budget, which is why pulling three common Shredders in a row is functionally useless while pulling one rare Shredder reshapes your build.
Named Supports in the Current Pool
-
Shredder: Close-range rotating blade, high DPS against clustered zombie waves, weak against single-target boss fights.
-
Blue Monster: AoE explosive damage, the best support for clearing highway chokepoints, but expensive to fuel.
-
Fast Furious: Speed-boost module, the only support that meaningfully changes your car handling stat without a WHEEL roll.
-
Generic support pieces: Lower-tier filler that appears in roughly half of supports-machine rolls and is generally dismantled for materials.
Rarity Tiers
The build and kill zombies drop rates on supports are tiered: Common, Uncommon, Rare, Epic, and Legendary. The base Luck stat from your passive skill tree multiplies the chance of pulling Rare and above, and the late-game Gold Roll skill replaces the entire roll with a guaranteed Rare-or-better pull. According to community data, the unmodified roll distribution looks roughly like this.
| Rarity tier | Approx. base rate | Effect of +10 Luck | Effect of Gold Roll |
|---|---|---|---|
| Common | ~50% | ~45% | 0% (skipped) |
| Uncommon | ~30% | ~28% | 0% (skipped) |
| Rare | ~15% | ~19% | ~70% |
| Epic | ~4% | ~6% | ~25% |
| Legendary | ~1% | ~2% | ~5% |
Numbers are reported by players and may shift with future patches. The community generally treats the Legendary tier as a "nice to have" rather than a requirement because the marginal DPS gain from Epic to Legendary is smaller than the gain from Uncommon to Rare. If you're new to the build and kill zombies roll machine ecosystem and want a deeper breakdown of which support piece fits which car archetype, the weapon guide covers the named supports in more detail.
Luck, Gold Roll, and the Real Drop Rate Math
Two systems modify every roll on every machine: the Luck passive from your skill tree, and the Gold Roll skill, which sits at the end of the skill tree and is unlocked late-game. Both apply identically to the parts machine and the supports machine, which is why the build and kill zombies how to roll question always circles back to "how high is your Luck and do you have Gold Roll yet?"
How Luck Multipliers Compound
Each point of Luck increases the chance of a higher rarity by a small flat amount and decreases the chance of Common by the same amount, so the total probability mass stays at 100%. The community has reverse-engineered the formula from repeated trials: every +10 Luck shifts roughly 5% of probability mass upward. That means a fresh account with 0 Luck pulls Common half the time, while a mid-game account with 50 Luck pulls Common only about a quarter of the time, and most of the lost Common weight has migrated to Rare rather than Epic or Legendary.
What Gold Roll Actually Does
Gold Roll is a top-tier passive that, once unlocked, lets you spend a premium currency to override the standard rarity roll with a guaranteed Rare-or-better pull. It does not affect the category roll on the parts machine — you can still pull a Common-category BLOCKS item if that's where the random category landed — but it does guarantee the rarity tier. The build and kill zombies roll odds under Gold Roll are the rightmost column in the table above, and it's the most efficient way to target specific high-rarity supports once you've stabilized your early-game car.
A Practical Pull Budget for New Players
Here's how a fresh account typically spends its first 200 roll tokens, broken down across the WHEELS, BLOCKS, ENGINES, and SUPPORTS categories that the parts machine and supports machine actually draw from. The breakdown assumes you start with the 60-token tutorial grant, follow with the hourly regeneration tick, and burn tokens in short bursts rather than hoarding them at the roll machine. Roll order matters because the drop rates shift as you fill out a category — pulling WHEELS first guarantees you hit the 4-piece chassis threshold before spending on the supports inventory, which would otherwise dilute your odds of pulling ENGINES early.
| Phase | Token spend | Parts vs. Supports split | Goal |
|---|---|---|---|
| First 30 minutes | ~40 tokens | 30 parts / 10 supports | Roll 4 WHEELS + 3 BLOCKS + 1 ENGINE, plus 1 usable support |
| Hour 1 | ~80 tokens | 50 parts / 30 supports | Complete drivable car + 2-3 equipped supports |
| Hour 2 | ~80 tokens | 40 parts / 40 supports | Upgrade to first Rare-tier support, swap to ENGINES category |
The split isn't a hard rule, but it's the median behavior observed across multiple community trackers. Players who skip the supports phase entirely tend to stall at the first highway chokepoint because their car is technically drivable but lacks the firepower to clear the wave. Players who never roll parts past hour 1 end up with a stockpile of supports and no chassis to put them on. The how luck works article expands on the passive tree math if you want to optimize the order in which you spend your skill points.
Earning Roll Tokens Over Time
Roll tokens are the only currency both machines accept, and the build and kill zombies how to roll question is really two questions: how do you earn tokens, and how do you spend them efficiently. There is no way to purchase roll tokens directly with Robux in the current patch, which means every token has to be earned in-game or unlocked through the four official game passes that mention rolls in their descriptions.
Primary Token Sources
-
Distance rewards: Each meter driven down the highway converts to a small token payout at the end of the run, with milestone bonuses at 500m, 1000m, and 2500m.
-
Kill rewards: Every zombie killed by your car or your supports drops a fractional token that rounds up to a full token every 8-10 kills.
-
Daily login: A small flat token grant that resets at server midnight UTC, independent of distance or kills.
-
Game pass roll boosts: One of the four official passes grants bonus tokens on every roll, and another grants an extra roll at the end of each run.
The Duplicate Problem
Both machines can return parts or supports you already own, and duplicates are a significant tax on early-game progress. The current patch breaks duplicates down into a small material refund rather than locking them out of the pool, which is one reason the build and kill zombies drop rates feel stingier than the rarity numbers suggest — half your rolls may technically be "new" but functionally worthless. If you want a complete breakdown of how to convert duplicates into upgrade materials, the how to get roll tokens guide covers the pity system and the conversion ratios.
Reading the Lobby Before You Roll
Before you spend a token, take ten seconds to look at the lobby. The parts machine and the supports machine both display the current category swap state, the active Luck multiplier, and whether Gold Roll is unlocked. If you ignore those displays, you are flying blind on the build and kill zombies roll odds for the next pull.
What the UI Tells You
-
Category label on the parts machine: If it says "BLOCKS," the next parts roll is guaranteed to be a BLOCK. If it says "ANY," the category is unweighted.
-
Luck multiplier readout: A small number near the token input shows your effective Luck. If it reads 0, you're at base odds.
-
Gold Roll indicator: If lit, the next pull is a premium roll. If greyed out, you haven't unlocked the skill yet.
Common Lobby Mistakes
-
Spending tokens on the parts machine while the category swap is set to BLOCKS, when you actually need WHEELS — this is the single most common early-game error.
-
Ignoring the supports machine because the parts machine is "more important" — your car will still die on the highway without at least one equipped support.
-
Rolling through the entire token reserve without checking the Luck readout, which means missing the window where a +5 Luck boost is active.
The build and kill zombies roll guide pattern of "look, then roll" applies whether you're on your first roll of the session or your hundredth, and the habit protects you on both the parts machine and the supports machine because each one shows a previewed outcome before you spend the token — green-highlighted categories signal a guaranteed-match pull, while greyed-out results mean the roll will be a dud and you should hold the token for the next refresh. Skipping the preview screen to roll faster is a common lobby mistake that burns through the token reserve before a guaranteed WHEELS or ENGINE swap window appears, since the Luck readout tied to your equipped support can shift the drop rates by several percentage points mid-run.
Putting It All Together: A Roll Sequence That Works
Here's a concrete sequence that synthesizes everything above. It's not the only valid sequence, but it's the one that most consistently produces a working car plus a usable support loadout within the first 100 tokens. The underlying logic is to front-load the lowest-variance categories first (WHEELS and BLOCKS, which together form 60% of the parts machine's any-category distribution) before committing tokens to the higher-variance ENGINES slot, so a single bad luck streak on engines cannot stall the entire build phase and force a full restart of the roll economy.
-
Enter the lobby, walk to the parts machine, and check the category label. If it reads ANY, leave it and roll 10 tokens to see what the natural distribution gives you.
-
After 10 rolls, if you have at least 3 WHEELS and 3 BLOCKS, switch the category to ENGINES using the SHOP menu and roll 20 more tokens. If you have fewer than 3 WHEELS, swap to WHEELS and roll 10 tokens before touching ENGINES.
-
Walk to the supports machine and roll 10 tokens without filtering. Sort the results by rarity, equip the highest-rarity named support, and dismantle the rest.
-
Press B, enter Build Mode, and assemble the car. If the car spawns at the green key with no warnings, you have a valid build. If it doesn't, you are missing a required slot.
-
Drive the highway once, return to the lobby, and spend the next 40 tokens at a 50/50 parts-to-supports split. By the end of this phase, you should have a Rare-tier support equipped.
-
Repeat step 5 with progressively higher ratios to supports until your car can clear the first mid-game chokepoint.
This loop is the build and kill zombies roll guide in motion, and the build and kill zombies how to roll question is really a question about when to interrupt the loop with a category swap or a Gold Roll activation. The exact timing depends on your Luck passive level, but the structure holds for both fresh accounts and mid-game accounts.
Frequently Asked Questions
What is the difference between the parts machine and the supports machine in Build and Kill Zombies?
The parts machine (labeled CAR PARTS) drops build-slot components from the BLOCKS, ENGINES, WHEELS, and FUELS categories, while the supports machine (labeled SUPPORTS) drops weapons and defense modules like the Shredder, Blue Monster, and Fast Furious. Both accept the same roll token and use the same Luck multiplier, but they draw from independent pools, so a parts pull never produces a support and vice versa.
How do the roll odds change as my Luck stat increases?
Each +10 Luck shifts roughly 5% of the rarity probability mass upward, from Common into Uncommon and Rare. A fresh account with 0 Luck pulls Common about 50% of the time, while a mid-game account with 50 Luck pulls Common about 25% of the time, with most of the lost weight migrating to Rare rather than Epic or Legendary. Numbers are reported by players and may shift with future patches.
When should I swap categories on the parts machine?
The community-recommended timing is to leave the parts machine on its default ANY setting for the first 10 rolls, then swap to whichever sub-category you're missing the most parts from. The most common early-game swap is to WHEELS if you're under four wheels, followed by ENGINES once your chassis is rolling. The lobby guide covers the Build Mode flow once your parts are ready to assemble.
Does Gold Roll affect both machines?
Yes, the Gold Roll passive applies to both the parts machine and the supports machine, and it guarantees a Rare-or-better rarity on the next pull. It does not influence which sub-category the parts machine draws from, so a Gold Roll on the parts machine can still return a Common-category item if the random category landed on a common sub-category.
What should I do with duplicate parts and supports?
The current patch converts duplicates into upgrade materials at a fixed ratio, and those materials can be spent in the SHOP to reroll the rarity of an existing part. Holding onto duplicates without converting them is one of the most common build and kill zombies drop rate frustrations, because the duplicates occupy inventory space and contribute nothing to your car build until converted.