
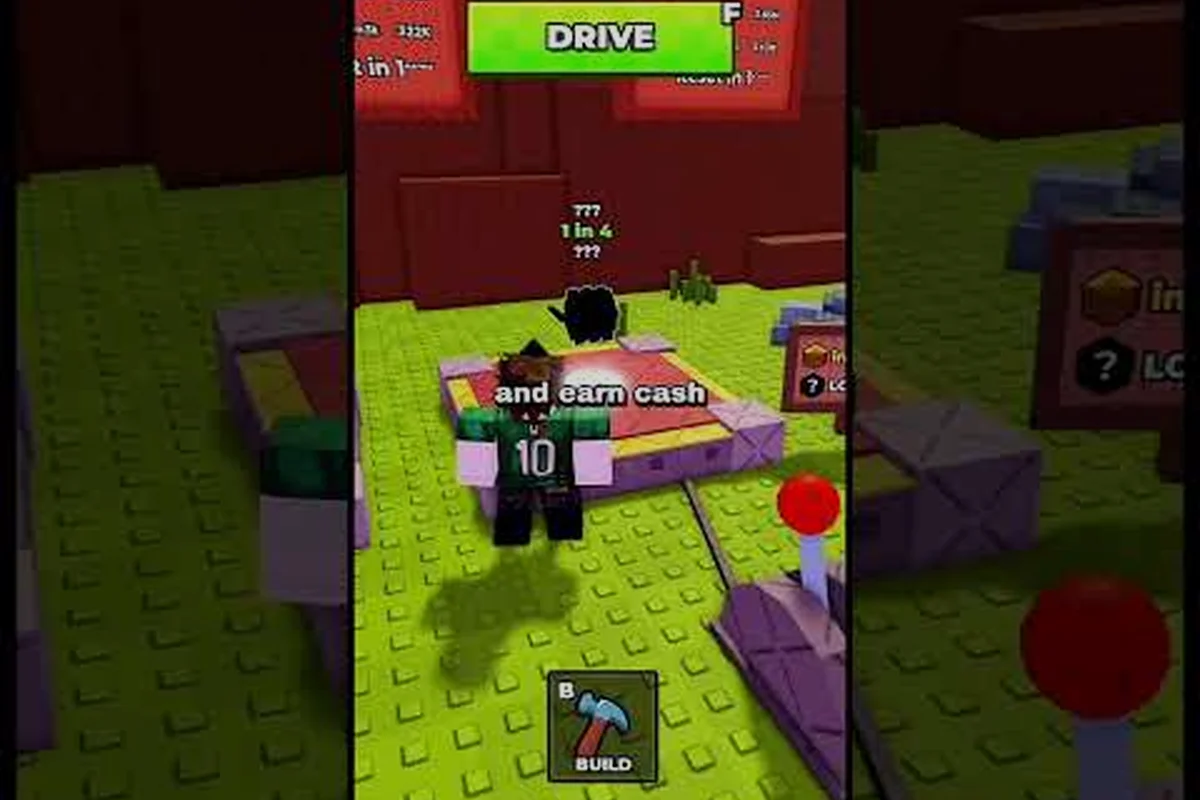
The Build and Kill Zombies best roll is less about pure luck and more about knowing which machine to approach, which roll category to highlight, and when to spend cash on a reroll. In the shared lobby of this Roblox sandbox, four machines sit across the spawn floor, and each one feeds a different part of your vehicle. Because the parts you pull determine how far your car survives on the track, chasing the rarest drops becomes the entire early game economy. The rest of this guide breaks down what every machine actually does, which blueprint names show up at the top of the drop table, and how the Q and E controls move you between categories before you confirm a pull.
How a Roll Actually Resolves
The Build and Kill Zombies roll system is a gacha-style layer that runs on top of the vehicle-building sandbox. Every player spawns into the same lobby, walks up to a machine, and spends in-game cash to pull a random part or weapon. Once a part is in your inventory, you step onto your personal plot, drop into Build Mode with the B key, and snap the piece onto a car body. The loop — roll, build, drive, earn, roll again — is the core rhythm of the game, so understanding the machines is the first step toward the Build and Kill Zombies best roll.
The economy is surprisingly tight at the start. Early cash comes from short test drives and small zombie kills, and a single pull can wipe out several minutes of driving. That pressure is what makes the roll category you choose so important: pulling from the wrong machine at the wrong time burns cash without moving your build forward. Knowing which slot to target is half the strategy.
The Four Roll Categories at a Glance
The lobby is laid out so the four roll categories each have their own machine, and each category only drops parts that fit a specific slot on your car. The table below shows the standard arrangement, as of the September 2026 build verified through the in-game UI and the Zombie Car Crusher Roblox community page.
| Machine | UI Label | Drops | Used On |
|---|---|---|---|
| 1 | BLOCKS | Body panels, frames, armor plates | Chassis and outer shell |
| 2 | ENGINES | Motors, drivetrains, turbo units | Performance and top speed |
| 3 | WHEELS | Tires, axles, off-road wheels | Traction and steering |
| 4 | FUELS | Tanks, fuel packs, boost reserves | Trip length and burst speed |
The fifth machine in the lobby is labeled SUPPORTS, and while it is not part of the four-piece vehicle anatomy, it is the place where you pull weapons and defensive add-ons such as the shredder. You can read more about how those drops feed into combat in the Build and Kill Zombies best weapon breakdown, since the support piece you mount often decides whether your car survives the boss wave.
Q and E Controls and the Confirm Roll Button
The Build and Kill Zombies q and e controls are how you cycle between roll categories without leaving the machine you are standing in front of. When you approach a roll machine, a small on-screen prompt appears, and pressing Q scrolls one category to the left while pressing E scrolls one category to the right. The currently highlighted category is shown in a yellow strip above the machine. Once the strip shows the part family you want — say ENGINES — the on-screen CONFIRM button commits the pull and spends the cash.
This is the moment most new players get wrong. They press E a few times to peek at every category, then walk away without confirming, which leaves the cash on the counter and the machine still set to a different family. The Build and Kill Zombies confirm roll step has to be a deliberate click after you stop on the category you want. If you walk away mid-cycle, the next player who walks up inherits the category you left behind, which is occasionally a free ENGINES pull but more often a wasted visit.
What Each Roll Machine Can Actually Drop
The Build and Kill Zombies best roll conversations always come back to a few named parts that appear far less often than the gray starter pieces. Community tracking from the Zombie Car Crusher group, combined with the in-game rarity colors, has produced a fairly stable tier list. None of the developers has published a full drop table, so values below are reported by players and may shift with future patches.
The Rarest Parts You Should Be Chasing
The Build and Kill Zombies rarest part is the one you see least often in other players' cars, and the community generally agrees on three top-tier drops. The first is the Fast Furious blueprint in the ENGINES category, a high-output motor that lets a basic chassis keep pace with mid-tier builds. The second is the Blue Monster body shell, which only appears in the BLOCKS machine and gives noticeably more health than the standard gray plates. The third is a legendary-tier support weapon that tends to define how a car behaves in boss fights.
| Part | Category | Rarity Tier | Why Players Chase It |
|---|---|---|---|
| Fast Furious engine | ENGINES | Legendary | Top-tier motor for mid-game builds |
| Blue Monster chassis | BLOCKS | Legendary | Highest base health body shell |
| Legendary shredder | SUPPORTS | Legendary | Crowd-clear weapon for boss waves |
| Reinforced axle | WHEELS | Epic | Best traction on late-stage tracks |
| High-pressure fuel cell | FUELS | Epic | Doubles effective trip length |
These five parts form the working definition of a "good" Build and Kill Zombies best roll session. If you walk away from a 30-minute lobby with one of them, you have meaningfully improved your car. If you walk away with two, you can usually skip the next two upgrade sessions entirely.
How Luck Shifts the Drop Table
The Build and Kill Zombies best roll is heavily influenced by your luck stat, which is a passive value that gets bumped by the skill tree. The current community consensus, reported by players and visible in the skill menu, is that each tier of luck raises the chance of pulling an Epic or Legendary part by a few percentage points. Those odds are not published, but the practical effect is easy to see: a player with full luck upgrades pulls noticeably more colored drops than a fresh spawn, even when both players spend the same amount of cash.
If you want a deeper breakdown of the math behind luck versus the gold roll, the Build and Kill Zombies how luck works guide walks through the same numbers in more detail. For the purposes of this rolls article, the takeaway is simple — every cash pull before you have at least Luck I online is a pull that is statistically weaker than it should be.
How to Unlock Roll Machines Faster
The Build and Kill Zombies how to unlock roll machines question comes up constantly from new players, and the answer is more generous than most people expect. Every machine is available from the moment you spawn, with two exceptions. The SUPPORTS machine only appears once you have rolled at least one part from the four main categories, because the game waits until it knows you are building a car before it offers you weapons. The Gold Roll station, which is a premium machine that skips the standard luck curve, is gated behind the skill tree and does not appear at all until you buy your first Gold Roll skill point.
Outside of those two, the four core machines are open from minute one. What you actually need to do is unlock the cash flow to use them, which means completing the two free-reward steps in the lobby first.
| Step | Action | Reward | Notes |
|---|---|---|---|
| 1 | Like the Build and Kill Zombies experience page | Free chest in the lobby | One-time, account-wide |
| 2 | Join the Zombie Car Crusher Roblox group | Free chest in the lobby | Required for community badge |
| 3 | Place any part on your plot | Unlocks SUPPORTS machine | Triggers the support roll |
| 4 | Buy Luck I in the skill tree | Slightly better drop odds | Soft unlock for high-tier pulls |
| 5 | Buy Gold Roll I | Spawns the Gold Roll station | Hard unlock for the premium machine |
The first two steps are pure quality-of-life: they hand you a free chest that usually contains a starter part, and the chest itself counts as a roll category unlock for the SUPPORTS machine once you place its contents. The last two steps are where the Build and Kill Zombies best roll starts to feel like real progress, because they shift the math in your favor across every pull from that point on.
What Cash Flow Actually Looks Like
The other half of unlocking the machines is having enough cash to feed them. A single pull costs a small amount early on, but a reroll — using the same machine twice without leaving — doubles the spend. The fastest way to get cash without burning your best parts is to build a cheap car from starter drops, drive it to its first breakdown, then spend the distance reward on more rolls. Players who try to roll first and build second tend to run out of cash with a half-built car and a pile of mismatched parts.
The Gold Roll station is the exception to that rule. It costs real Robux, and the current API-verified price for the 2x Permanent Luck game pass is 149 Robux, not the 109 Robux that older third-party guides list. If you decide to invest, treat the Gold Roll as a one-time boost rather than a habit, because the cash you sink into rerolls still comes out of the same in-game economy.
Choosing the Right Roll Category Per Stage
The Build and Kill Zombies roll category decision should change depending on where you are in the build. In the first ten minutes, every player needs a working car, and that means prioritizing ENGINES and WHEELS so the chassis can actually move. Pulling a legendary BLOCKS body in the first five minutes is technically exciting, but if the car cannot turn or accelerate, the part sits unused in your inventory.
Once you have a drivable car, the priority shifts. WHEELS and FUELS become the bottleneck, because every additional track is gated behind how long your fuel cell lasts and how well your tires grip. Finally, late game is where the SUPPORTS roll pays off, since the boss waves start to punish cars without a crowd-clear weapon. The table below summarizes the rough stage-by-stage priority, based on community reports from the Zombie Car Crusher group.
| Stage | Primary Machine | Secondary Machine | Goal |
|---|---|---|---|
| First 10 minutes | ENGINES | WHEELS | Get a drivable car |
| 10-30 minutes | WHEELS | FUELS | Extend trip length |
| 30-60 minutes | BLOCKS | SUPPORTS | Improve survivability |
| Late game / boss prep | SUPPORTS | ENGINES | Add damage and top speed |
The Build and Kill Zombies best roll sessions almost always follow this order, even when a player gets lucky and pulls a legendary part early. The lucky pull is banked, and the player returns to the priority list until the car is actually complete.
When to Skip a Roll Entirely
There are two situations where the smartest move is to walk away from the machines. The first is when your inventory is already full. New players often spend cash on a pull, get a part they cannot equip, and then burn another pull on a reroll trying to clear space. The second is when you are about to drive a long track. Cash reserves matter more than a single rare part, and a long run can net more value than a dozen average pulls.
This is also where the Build and Kill Zombies confirm roll button can save you. If you are tempted to pull but your inventory is full, leave the machine without confirming, and the next person inherits the category. If you are tempted to pull but you need the cash for fuel, leave the machine without confirming, and the cash stays in your wallet. The CONFIRM button is the most expensive click in the entire game, and treating it that way is how experienced players stay ahead.
Skill Tree Choices That Improve Your Pulls
The Build and Kill Zombies best roll is a team effort between the machines and the skill tree. The skill menu sits in the lobby and uses a small ladder of upgrades that you buy with in-game cash. The order of purchases reported by players is roughly Luck I, then Luck II, then More Support I, then More Support II, then Gold Roll I. The first two increase your passive luck on every pull, the middle two improve the quality of support drops, and the last one unlocks the premium machine itself.
| Skill | Effect | When to Buy |
|---|---|---|
| Luck I | Small luck boost on all pulls | After your first drivable car |
| Luck II | Larger luck boost on all pulls | When cash reserves feel stable |
| More Support I | Better odds on SUPPORTS pulls | When boss waves start to hurt |
| More Support II | Even better SUPPORTS odds | Mid-game, before final build |
| Gold Roll I | Unlocks the Gold Roll station | Late game, optional |
If you want a more detailed walkthrough of the gold roll branch specifically, the Build and Kill Zombies gold roll skill explainer covers the exact purchase order and the cash thresholds players tend to hit. The short version, though, is that luck upgrades always beat raw pull volume in the Build and Kill Zombies rolls economy, because every percentage point of luck applies to every pull you make for the rest of the session.
Synergy With Support Pieces and Weapons
Once you have Gold Roll I and a few luck tiers online, your SUPPORTS pulls start producing the rare weapon drops that define the late game. A legendary shredder, for example, can clear a boss wave in seconds, but only if your car can carry the weight. The Build and Kill Zombies legendary weapon guide goes into more depth on which support drops are worth building around. From a roll strategy standpoint, the lesson is to treat SUPPORTS as the last category to invest in, because the parts only shine once the rest of the car is solid.
The final layer of strategy is the More Support skills, which behave as luck multipliers but only inside the SUPPORTS machine. A player with both More Support tiers pulls noticeably more legendary weapons than a player with only luck upgrades, which is why the skill path is widely recommended. If you are deciding between saving for the next skill or pulling once more, the Build and Kill Zombies should I buy more support overview frames the trade-off in cash terms.
Frequently Asked Questions
What is the Build and Kill Zombies best roll to chase early on?
The best early roll is an ENGINES pull, because a working motor is the single biggest unlock for your car. A mid-tier engine on a starter chassis will outdrive a legendary body on no engine at all, and the cash you save on early rerolls compounds across the rest of the lobby. Once you have a drivable car, shift your priority to WHEELS and FUELS.
How do the Build and Kill Zombies q and e controls actually work?
The Q key cycles the highlighted roll category one slot to the left, and the E key cycles it one slot to the right. The yellow strip above the machine shows the currently selected family. You then have to press the on-screen CONFIRM button to commit the pull — walking away without confirming leaves the cash on the counter and the machine set to whatever category you last highlighted.
What counts as the Build and Kill Zombies rarest part?
Community tracking points to the Fast Furious engine, the Blue Monster chassis, and a legendary-tier shredder as the three rarest drops, all sitting in the Legendary rarity band. The exact drop rates are not published, so treat the tier list as a community consensus rather than an official stat block. Pulls from the Gold Roll station or with full luck upgrades improve your odds noticeably.
How do I unlock the Gold Roll machine in Build and Kill Zombies?
The Gold Roll station is gated behind the skill tree and only appears once you buy the Gold Roll I skill. Players report working toward it after they have already bought Luck I, Luck II, More Support I, and More Support II, because the earlier skills improve the quality of every pull you make. The 2x Permanent Luck pass that boosts the Gold Roll further is listed at 149 Robux in the current Roblox API.
Can I reroll a pull if I do not like the part?
Yes, but each reroll doubles the cash cost of that pull from the same machine, so a long reroll chain gets expensive fast. The smarter move is to leave the machine, bank the cash, and pull again later when your luck skills are higher. A single Legendary part in a full luck build is worth more than five mid-tier parts from a fresh-spawn build.