
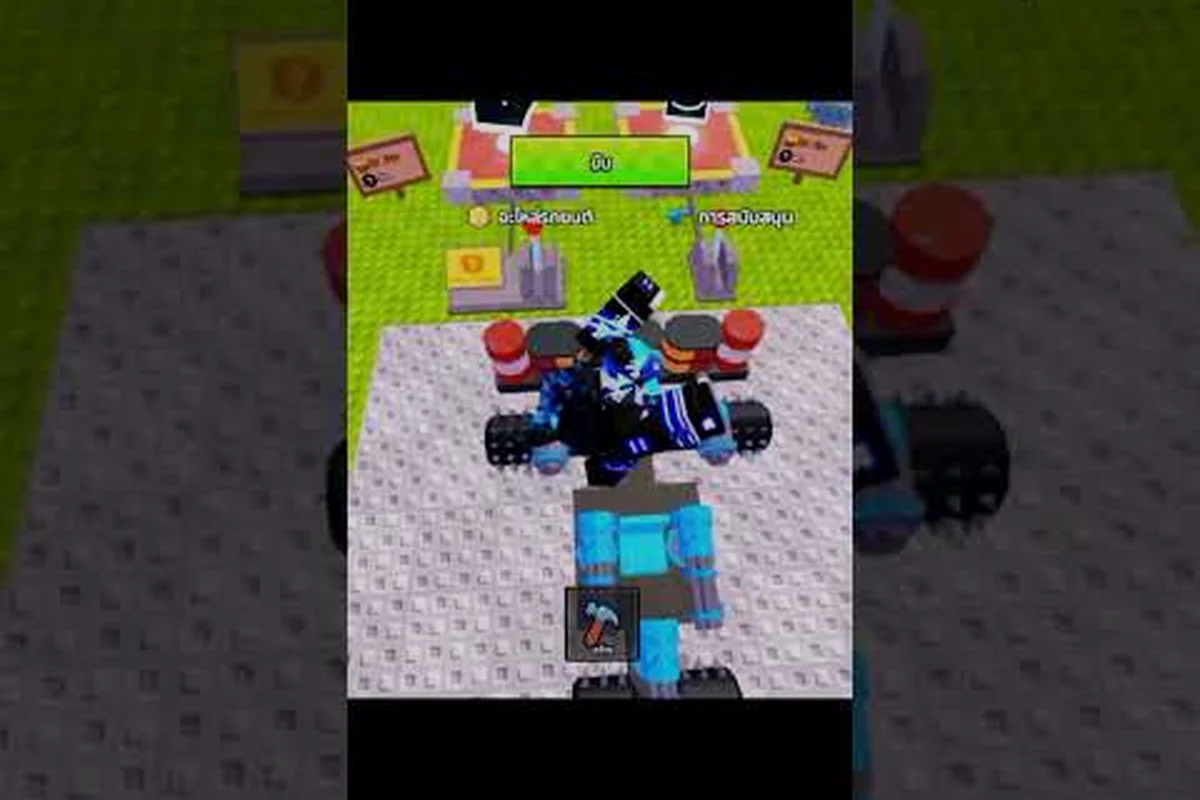
Boss spawns in Build and Kill Zombies run on a hard schedule, and most players walk into the first King 1x1x1x1 attempt blind because nobody explains the timer, the phase split, or the parts the boss eats for breakfast. The information gap is real: the server-wide zombie king has enough durability to delete a default plot car in under thirty seconds, and the only way to push him down is to read the boss timer, predict the next boss in rotation, and build a loadout that survives the full fight rather than the opening clip. This guide compresses the timer math, the phase split, and the practical build choices that determine whether your run ends with a Victory Royale badge or a rebuild trip back at the plot.
Reading the Boss Timer and Spawn Window
The server-wide boss timer in Build and Kill Zombies works on a fixed cadence that players can plan around if they know where to look. Every lobby posts the same interval for fresh spawns, and King 1x1x1x1 always follows the same window once a server clears its current objective. The timer is anchored to the in-server objective tracker, not the player's local clock, so closing the client does not pause the schedule.
Where to Watch the Timer
The boss timer lives in two places at once. The first is the lobby objective banner at the top of the HUD, which shows the current countdown in minutes and seconds and switches color when the next boss is within sixty seconds. The second is the world spawn indicator near the central arena, which lights up with a red pillar of light when the King is about to materialize. According to community testing reported by players in the Build and Kill Zombies Discord, the banner color flips from white to red roughly fifty-five seconds before the boss lands, giving you a final reposition window.
The two indicators are not redundant. The banner is your planning source because it shows the full countdown, while the world pillar is your action source because it confirms the spawn zone is locked. Players who watch only one source tend to either over-extend their build phase or show up late to a fight that already started.
Standard Spawn Cadence
The server cycle is tight enough that a single build phase can feed multiple boss attempts if the player optimizes the early rolls. The table below maps the cycle to the action a single player should be running.
| Server Minute | Boss Timer State | Player Action |
|---|---|---|
| 0:00 | Server boots, timer starts | Claim plot, place foundation blocks |
| 3:00 | First mini-boss spawns | Stay near arena, hold fuel for the run |
| 7:00 | Mini-boss cleared, King timer begins | Roll parts, build primary weapon and car chassis |
| 10:00 | King 1x1x1x1 spawns | Move to arena, engage with full loadout |
| 13:00 | King enrage phase | Burn cooldowns, swap to burst weapon |
| 15:00 | Victory or wipe, new cycle resets | Loot, repair, prepare for next boss in rotation |
The minute marks shift slightly on private servers with custom timers, but the public server cadence holds. Players who join a fresh server and start building immediately will always hit the King 1x1x1x1 spawn at the seven-to-ten minute band. Confirming the exact minute by checking the banner saves a wasted build cycle.
King 1x1x1x1 Phase-by-Phase Breakdown
The King 1x1x1x1 boss fight in Build and Kill Zombies is built as a three-phase encounter, with each phase gating a new attack pattern and a new vulnerability window. Knowing which phase is live is the difference between a clean burst and a wasted weapon cycle. The phase split is the same in every server, so the timing is learnable, not random. Phase discipline like this also decides whether you actually close out a long run, which is why our Build And Kill Zombies Final Boss walkthrough leans on the same phase-by-phase timing window instead of brute-forcing through cycles.
Phase 1: Opening Press (100% to 70% HP)
The first phase is a movement-heavy opener designed to test whether the player can maintain damage while dodging the King's missile spread. The boss locks onto the nearest car and fires a five-missile volley every four seconds, with each missile dealing roughly 8% of a default plot car's durability. The damage is recoverable, but only if the player keeps moving in a lateral arc rather than reversing in a straight line. Reversing in a straight line is the most common mistake reported by new players because the missile homing corrects for slow backpedal but cannot track a hard sideways cut.
The optimal Phase 1 play is to keep the car perpendicular to the King and strafe in twelve-foot circles while firing the primary weapon. Most players clear Phase 1 in roughly ninety seconds if the car is built with at least a Tier 3 engine and a Tier 2 front bumper. Players running default starter parts usually need two full minutes and almost always lose a wheel to the second missile volley, which is the most common Phase 1 wipe cause.
Phase 2: Sword Sweep (70% to 30% HP)
Phase 2 adds a melee attack that punishes players who park too close to the King. The boss pulls a giant sword and performs a 180-degree sweep that deals 25% durability in a single hit, with a wind-up animation that lasts about one and a half seconds. The wind-up is the cue to back off at least thirty feet before the swing lands. Players who time the back-off correctly can punish the recovery animation with a full burst window of roughly three seconds, which is the highest damage-per-second exchange in the entire boss fight.
The trap in Phase 2 is over-chasing. The King 1x1x1x1 sword sweep has a longer horizontal range than it looks, and players who roll aggressively into the boss to squeeze out one extra hit usually eat the full sweep and lose their front wheels. The phase is designed to reward patience over greed, and players who clear Phase 2 with their full car intact have a much easier Phase 3.
Phase 3: Enrage and Final Stand (30% to 0% HP)
The final phase is the one that filters out builds that relied on a single weapon type. The King enrages, doubles his missile cadence to every two seconds, and adds a shockwave stomp that knocks back any car within twenty feet every eight seconds. The combined pressure means the player cannot sit in a single position to fire, which breaks the Phase 1 and Phase 2 muscle memory entirely.
The way to clear Phase 3 is to swap to a burst-damage weapon and accept that the car will not survive the phase. According to community testing, the cleanest clear pattern is to dump every cooldowned ability in the first ten seconds of enrage, then use the remaining HP as a clock to finish the boss before the car breaks down. Players who try to play Phase 3 with the same kiting pattern they used in Phase 1 usually run out of durability halfway through and have to rebuild before the next server cycle.
Loadout Choices for the King Fight
The loadout that clears King 1x1x1x1 is not the same loadout that clears the early zombie waves. Parts that feel overpowered in the first three minutes usually drop off in the boss fight because the King has armor values that ignore low-tier damage. The table below maps each car part slot to the recommended tier for the boss encounter, with the rationale built from community-reported drop rates.
| Part Slot | Recommended Tier for Boss | Why This Tier | Common Mistake |
|---|---|---|---|
| Engine | Tier 3 or higher | Powers sustained strafe without overheat | Tier 1 engines overheat in Phase 2 |
| Wheels | Heavy-duty, all four | Survives missile volleys in Phase 1 | Default wheels lose traction on the arena floor |
| Front Bumper | Tier 2 reinforced | Eats one sword sweep without exploding | No bumper means one-shot wheel loss |
| Primary Weapon | Tier 3 ranged | Range keeps player out of sword range | Melee weapons force close-range sword risk |
| Burst Weapon | Tier 2 or higher | Used in Phase 3 enrage window | Tier 1 burst fails to break armor |
| Fuel Tank | Large capacity | Reaches arena from the spawn plot | Small tanks force a refuel mid-fight |
The full boss-ready build costs roughly four times the parts of a default starter car, which is why the build phase between mini-boss clear and King spawn matters as much as the fight itself. Players who skip the roll phase and show up to the King with starter parts are effectively paying the part cost in car repairs instead.
Engine and Wheels Are the Foundation
The engine and wheels decide whether the player can stay in the safe damage window during all three phases. A Tier 3 engine with heavy-duty wheels gives the player enough grip to strafe at full speed, which is the only reliable way to dodge Phase 1 missiles and Phase 2 sword swings. Lower-tier wheels lose traction on the arena floor after the first missile hit, which turns the strafe pattern into a slide and the slide into a sword hit.
Players who cannot roll a Tier 3 engine should prioritize wheels first because a Tier 2 engine on heavy-duty wheels outperforms a Tier 3 engine on default wheels in the boss arena. The community-reported wisdom is that traction beats raw horsepower in this specific fight because the dodge pattern is more important than the top speed.
Burst Weapon Choice for Phase 3
The burst weapon choice for Phase 3 enrage is the single biggest DPS swing in the entire encounter. Players who clear the King with a Tier 2 burst weapon usually finish Phase 3 in about twenty seconds, while players running a Tier 1 burst weapon often run out of durability before they finish the last 10% of the boss HP. The reason is that Tier 1 burst weapons fire too slowly to break the King's enrage armor, so every shot that lands deals roughly half the damage of a Tier 2 burst.
The community-reported best-in-slot burst weapon for King 1x1x1x1 is the Shredder line, which has a fast tick rate and a damage multiplier against armored targets. Players who cannot roll a Shredder should use any Tier 2 burst weapon with a high fire rate, but they should expect a longer Phase 3 and plan their cooldowns accordingly. The official Build and Kill Zombies on Steam page describes the Shredder as a high-frequency support weapon designed for armored targets, which aligns with what community testing reports.
Predicting the Next Boss in Rotation
The "next boss in" question is one of the most common searches new players run before they know how the rotation works. The Build and Kill Zombies rotation is not random, and predicting the next spawn is a matter of reading the banner state and the server cycle. Every server runs through the same sequence, and the King is always the final boss in the cycle before the server resets.
Boss fight strategies and damage thresholds for the zombies encounter are detailed in the Build and Kill Zombies boss guide video, which walks through each phase and the optimal loadout for clearing the fight on higher difficulties.
The Standard Rotation
The standard server cycle runs a three-boss rotation: a mini-boss, an elite, and the King. The mini-boss appears at the three-minute mark, the elite at the six-minute mark, and the King at the ten-minute mark. The mini-boss and elite both have lower HP pools and can be cleared with a half-built car, which is why most players use them as a build-phase gate before the King attempt.
| Spawn Order | Boss | Approx. HP | Approx. Clear Time (Full Build) |
|---|---|---|---|
| 1 | Mini-boss (random from pool) | 15,000 | 30-45 seconds |
| 2 | Elite (random from pool) | 40,000 | 60-90 seconds |
| 3 | King 1x1x1x1 | 120,000 | 4-5 minutes |
The mini-boss and elite are drawn from a small pool, and the exact boss that spawns depends on the server seed. Players who want a specific boss for a badge run should server-hop until they find a lobby that has not yet spawned the boss they need. The badge for clearing King 1x1x1x1 is the hardest of the three, which is why the King spawn is what most rotation questions are really asking.
Reading the Banner for the Next Spawn
The lobby banner is the most reliable source for the next boss in rotation, but it requires some practice to read quickly. The banner shows the current timer and the next boss name in small text underneath the countdown. Players who zoom out the camera or move the HUD around can sometimes miss the boss name, which is why most players run the build-and-kill-zombies lobby guide in a second tab until they memorize the banner layout.
The banner also flashes the boss name in red for roughly ten seconds before the spawn, which is the last chance to reposition. Players who see the red flash should immediately stop building and start driving toward the arena because the spawn zone is locked the moment the flash ends. Trying to finish one more roll during the red flash is the most common cause of a missed King 1x1x1x1 attempt, and it usually results in the player arriving late to a fight that already started and the team wiping before they can contribute damage.
Practical Tactics for a Clean King 1x1x1x1 Clear
The tactics that separate a clean clear from a rebuild are mostly about discipline rather than raw damage. The King's damage profile is forgiving if the player respects the phase transitions, and unforgiving if the player tries to brute-force the encounter without reading the cues.
Save the Cooldown Burst for Phase 3
The single most common tactical mistake is to use the burst cooldown in Phase 1, which feels productive but is actually wasted damage. Phase 1 has a long vulnerability window where sustained strafe-fire does almost as much damage as a burst, and the player has plenty of time to chip down the first 30% of HP. Phase 3 is the opposite: the enrage timer forces the player to dump damage in a short window, and a burst cooldown used in Phase 1 cannot be used again in Phase 3 because the cooldown timer is longer than the enrage phase.
The way to plan cooldowns is to track when each one comes online and save the longest one for the enrage. Players who use the Gold Roll skill tree cooldown in Phase 1 are almost always unable to clear the King because the Gold Roll gives roughly a 30% damage boost that is only available once per cycle. Saving it for Phase 3 turns a borderline clear into a comfortable one, and a comfortable clear is the difference between earning the Victory Royale badge and resetting to a fresh build phase.
Keep a Repair Buffer in the Inventory
A clean King 1x1x1x1 clear is not a no-damage run, and players who enter the fight with a full inventory of parts can repair mid-fight and finish with their car intact. The repair buffer should include at least two spare wheels, one spare engine block, and one Tier 2 front bumper. Players who skip the repair buffer usually lose their car to a single Phase 2 sword sweep and have to either abandon the fight or try to clear the King on foot, which almost never works because the on-foot damage profile cannot keep up with the enrage timer.
The repair buffer is also a budget constraint. Players who roll parts for the buffer instead of the burst weapon save themselves from a Phase 2 wipe but lose the Phase 3 DPS to clear the enrage. The balanced approach is to roll one buffer part and one burst weapon during the build phase, which costs roughly the same roll budget as a single high-tier primary weapon but gives the player a much higher chance of finishing the fight.
Stay Out of the Sword Arc in Phase 2
The Phase 2 sword sweep is the single highest damage event in the entire King 1x1x1x1 encounter, and staying out of the arc is more important than dealing damage during the wind-up. The wind-up animation lasts about one and a half seconds, which is enough time for the player to back off thirty feet and reposition for the punish window. Players who try to squeeze in one extra hit during the wind-up usually eat the full sweep and lose their front wheels, which cascades into a Phase 3 enrage where the car cannot strafe.
The punish window after the sword sweep is the highest damage-per-second exchange in the entire boss fight, which is why the optimal Phase 2 pattern is back-off-strafe-punish rather than chase-fire. The pattern requires some practice, but the muscle memory builds quickly because the wind-up animation is the same every time. Players who clear King 1x1x1x1 multiple times report that the Phase 2 sweep is the most learnable part of the encounter, while the Phase 3 enrage requires a different skill set entirely.
Frequently Asked Questions
How long is the boss timer in Build and Kill Zombies?
The server-wide boss timer in Build and Kill Zombies runs a ten-minute cycle for the King 1x1x1x1 spawn, with mini-bosses at the three and six-minute marks. The timer is anchored to the in-server objective banner, so closing the client does not pause the schedule. Private servers can adjust the cadence, but public lobbies always run the same ten-minute window.
What is the best way to beat King 1x1x1x1?
The best way to beat King 1x1x1x1 is to build a Tier 3 engine, heavy-duty wheels, a Tier 2 front bumper, and a Tier 2 or higher burst weapon before the ten-minute spawn, then clear the fight in three phases. Save the burst cooldown for Phase 3 enrage, kite laterally in Phase 1, and stay out of the sword arc in Phase 2. The Victory Royale badge requires a full clear, not just a damage contribution.
Can I beat the boss with a default starter car?
You can damage King 1x1x1x1 with a default starter car, but a clean clear is essentially impossible because the car lacks the traction to strafe in Phase 1 and the durability to survive the Phase 2 sword sweep. Community testing reports that starter-car clears happen in roughly one out of every fifty attempts, and the player usually loses the car in Phase 2 and finishes on foot.
Where do I find the next boss in rotation?
The next boss in rotation is shown in small text underneath the lobby objective banner, and the banner flashes the boss name in red for about ten seconds before the spawn. Players who want a specific boss for a badge run should server-hop until they find a lobby that has not yet spawned the target, because the rotation is locked to the server seed rather than the player.
What parts should I roll first for the King fight?
Roll wheels first, then engine, then front bumper, then burst weapon. Wheels decide whether you can strafe in Phase 1, the engine powers the strafe, the bumper eats a Phase 2 sword sweep, and the burst weapon closes Phase 3. Skipping any of the first three usually results in a Phase 2 wipe, while skipping the burst weapon results in a slow Phase 3 clear that the car cannot survive.