
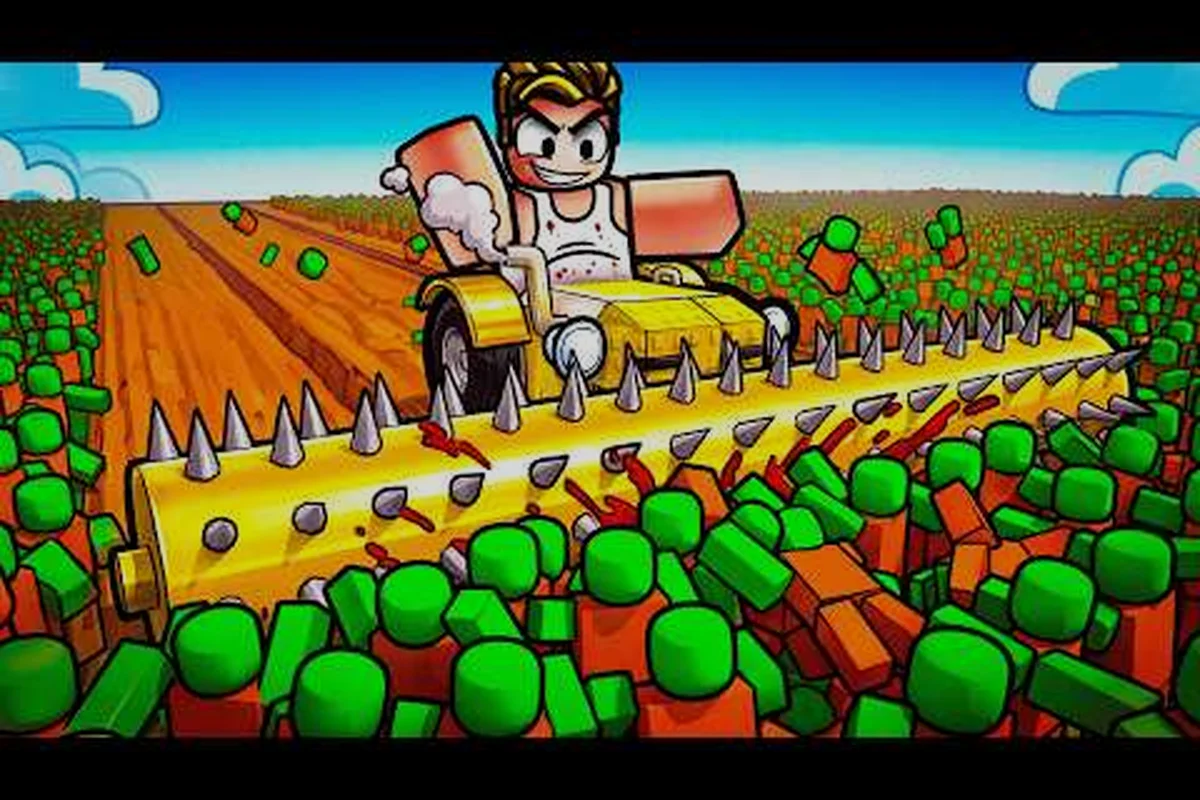
Your Build and Kill Zombies chassis is the skeleton of every run, and the wrong frame can turn a stacked roll session into a constant tow back to the lobby. Built in Roblox by the Zombie Car Crusher group, the game drops you into a shared lot where you roll for car parts across four categories (BLOCKS, ENGINES, WHEELS, and FUELS), then snap them onto a base in Build Mode (press B to toggle). The way you balance those four slots decides whether you limp past Wave 3 or coast through the King 1x1x1x1 event.
Understanding the Chassis Role in Build and Kill Zombies
The chassis is the base block you build every other component onto, but the in-game label often blurs with the wider "BLOCKS" category. In community shorthand, a chassis means the bottom plate plus the structural blocks that determine length, height, axle layout, and where you bolt your engines, wheels, and fuel tanks. Every blueprint you collect (the Blue Monster, the Fast & Furious tribute, the light car preset) starts from a chassis silhouette, then layers engines, wheels, and fuel on top.
Because the game uses part rarities influenced by Luck and the Gold Roll skill, a strong Build and Kill Zombies chassis is the result of stacking compatible parts, not chasing one legendary piece. Community data shows that the bottom plate's hitbox length and wheel count slots are the two biggest factors in how far a car travels per run. Short chassis reach higher top speed but tip over on the King 1x1x1x1's slam attack. Long chassis handle ramps and zombie crowds better but eat through the fuel tank faster.
Why the Chassis Sits Above Engines, Wheels, and Fuel
Engines, wheels, and fuel are interchangeable modules, but the chassis is the only category you cannot swap mid-run. Once you press the green launch key, your bottom plate is locked in. That is why veteran players in the community Discord recommend finalizing the frame before chasing rare engines. A four-wheel short chassis with a V8 and high-capacity fuel tank will outrun a long chassis running on a starter engine every time, because the shorter wheelbase translates horsepower into distance more directly.
| Chassis Style | Best Strength | Main Weakness | Ideal Player |
|---|---|---|---|
| Short 4-wheel plate | Top speed, tight turns | Low HP, easy to flip | Speedrunners, distance chasers |
| Long 6-wheel flatbed | Stability, zombie crowd clear | Heavy fuel drain | Boss hunters, event runners |
| Tall armored box | Survives King 1x1x1x1 slam | Slow acceleration | Survival-focused players |
| Modular mid-frame | Fits the most blueprints | Mid-tier in every stat | Blueprint completionists |
Picking Build and Kill Zombies Engines That Match Your Frame
The engine category is where the Luck stat pays off hardest. Engines range from the basic I4 starter (rolled from the cheap "ENGINES" machine) up to V8, V12, and the rare turbo variants unlocked through the Gold Roll skill. According to community data, the V8 is the most reliable mid-game engine because it offers a flat torque curve that pushes both short and long chassis without forcing you to reroll wheels.
A common rookie mistake is stacking two engines on a short chassis. The game physics do not blend torque additively, and a heavy twin-engine short plate burns through fuel twice as fast while offering almost no extra top speed. One well-rolled V8 beats two mismatched engines on a compact frame every single run.
Engine Tiers and What They Actually Do
| Engine Tier | Approx. Power | Best Chassis Match | Cost-to-Performance |
|---|---|---|---|
| I4 Starter | 1x baseline | Short 4-wheel | Free (starter roll) |
| V6 Mid | 1.6x | Modular mid-frame | 3-5 rerolls typical |
| V8 Standard | 2.2x | Any chassis | 8-12 rerolls |
| V12 Rare | 3x | Long 6-wheel | 20+ rerolls, lucky drop |
| Turbo (Gold Roll) | 4x+ | Tall armored | Locked behind skill tree |
The V12 is the headline engine for boss fights, but community reports indicate its torque spike can wheelie a short chassis off the road on the first ramp. The Turbo tier sits at the end of the skill tree and requires both Gold Roll and a high Luck passive to roll reliably. For most players, the V8 paired with the right wheels delivers 90 percent of the boss-killing value at half the reroll cost.
Wheel Selection and the Roll Math in Build and Kill Zombies
Wheels decide grip, ground clearance, and how well your fuel tank pays off. The game has slim wheels, off-road tires, drag slicks, and the rare spiked variants that deal contact damage to zombies. Each wheel type has a different friction coefficient, and the official Roblox game page lists wheel selection among the top three factors that separate a 5,000-meter run from a 20,000-meter run.
The hidden trick is that four small wheels accelerate faster than four large wheels on flat ground, but large off-road tires preserve momentum over ramps and zombie piles. A long chassis with slim wheels looks fast in the lobby but stalls on every incline. A short chassis with off-road tires clears the King 1x1x1x1 arena without losing speed to the debris field.
Matching Wheel Size to Chassis and Fuel Tank
| Wheel Setup | Acceleration | Top Speed | Fuel Efficiency |
|---|---|---|---|
| 4x Slim street | Fast | High | Best (least rolling resistance) |
| 4x Off-road mid | Medium | Medium | Balanced |
| 6x Off-road heavy | Slow | Medium-high | Worst (heavy drag) |
| 4x Spiked (rare) | Medium | High | Decent, adds zombie damage |
Players who stack fuel capacity onto a 6-wheel heavy setup often run dry before reaching the boss arena, because the extra rolling resistance drains the tank 30 percent faster than a 4-wheel slim setup according to community testing. If you want to learn more about the best wheel builds ranked by tier, that guide breaks down each wheel type against the chassis it pairs with.
Fuel Tanks and Blueprints: Closing the Loop in Build and Kill Zombies
Fuel capacity is the silent killer of long-distance runs. A maxed-out V12 on a long chassis looks unstoppable in the lot, but if the fuel tank is undersized the engine sputters out halfway up the second ramp. The "FUELS" roll machine drops tank modules at different sizes, and the Luck stat influences whether you get a small, medium, or large canister. Large canisters are the rarest drop, and many players chase them through the Gold Roll skill specifically to push distance records.
This is where build and kill zombies blueprints become the meta layer. A blueprint is a community-built or in-game preset that tells you exactly which chassis frame, engine, wheel set, and fuel tank go together for a known result. The Blue Monster blueprint, the Fast & Furious tribute, and the Light Car preset each solve a different problem: Blue Monster is boss-focused, Fast & Furious is speed-focused, and Light Car is a fuel-economy setup that extends range on a small tank.
Blueprint Categories and When to Use Them
| Blueprint Name | Primary Goal | Best Chassis | Engine Pair |
|---|---|---|---|
| Blue Monster | Boss DPS, King 1x1x1x1 | Tall armored box | V12 or Turbo |
| Fast & Furious | Distance, speedruns | Short 4-wheel | V8 with slim wheels |
| Light Car | Fuel efficiency, new players | Modular mid-frame | V6 with off-road wheels |
| Custom community builds | Mixed goals | Any | Varies |
The Light Car blueprint is the strongest recommendation for new players because it teaches the relationship between chassis weight, engine torque, and fuel drain without punishing mistakes. Once you can consistently hit 10,000 meters on a Light Car build, swap to the Fast & Furious preset and chase distance records. The Blue Monster is the last unlock because it requires a tall armored chassis, a V12 or Turbo engine, and a high-capacity fuel tank all rolled in the same session.
If you are running dry mid-run, the out of fuel recovery guide covers the reroll strategy and which skill tree nodes restore partial tank capacity on respawn. The 2x Cash game pass also indirectly helps fuel runs because every meter traveled pays out more, letting you reroll for larger tanks faster.
Putting It All Together: A Loadout That Actually Works
The strongest loadout most players overlook is the V8 on a short 4-wheel chassis with a medium fuel tank and off-road wheels. It is not flashy, it does not use the rarest parts, and it does not require the Gold Roll skill. What it does is deliver consistent 8,000 to 12,000 meter runs that fund the rerolls needed to eventually chase V12 and Turbo drops. This build also works on both PC and console because the wheel count stays manageable and the chassis fits within the standard 8x8 plot in Build Mode.
For boss event runs, swap the short chassis for the tall armored box, the V8 for a V12, and the medium tank for the largest fuel canister you can roll. The extra weight slows acceleration, but the King 1x1x1x1 slam attack deals percentage-based damage, so the armored chassis survives the first slam that would one-shot a short plate. Pair this with the tier list of best parts once you have the reroll budget to chase specific rarities.
Quick Loadout Decision Table
| Goal | Chassis | Engine | Wheels | Fuel Tank |
|---|---|---|---|---|
| New player first 50 runs | Modular mid-frame | V6 | 4x off-road mid | Medium |
| Daily distance farming | Short 4-wheel | V8 | 4x slim street | Medium-large |
| Boss event (King 1x1x1x1) | Tall armored box | V12 or Turbo | 4x spiked | Large |
| Blueprint completion | Varies by preset | Preset-locked | Preset-locked | Preset-locked |
If you are still learning the basic rolls and the Build Mode controls, the beginner guide walks through the lobby, the four roll machines, and the first 10 runs. The chassis decisions above only matter once you have the reroll budget to actually pick parts instead of taking whatever the machines drop first.
Common Chassis Mistakes and How to Avoid Them
The single most common mistake is treating the chassis as a cosmetic choice. Players spend 30 minutes rerolling engines and wheels, then snap them onto a starter chassis that cannot support the weight or wheelbase. The chassis is the load-bearing decision; engines and wheels are optimizations on top of it. Always lock the chassis first, then roll engines and wheels that match its wheel count slots and length.
The second mistake is ignoring the Luck passive when chasing rare parts. Luck influences drop rarity across all four roll machines, but it weighs heaviest on the ENGINES and FUELS machines because those have the widest rarity spread. A player with maxed Luck will roll a V12 in 8 attempts on average, while a player with base Luck needs 20+ attempts for the same drop.
The third mistake is over-fueling a short chassis. A short 4-wheel plate has limited plot space in Build Mode, and stacking a large fuel canister takes up block slots that should hold armor or weapon supports. Match the fuel tank to the chassis size: small to medium tanks on short plates, medium to large tanks on long or tall plates.
Frequently Asked Questions
What is the best Build and Kill Zombies chassis for beginners?
The modular mid-frame chassis is the strongest starter choice because it accepts the most blueprint presets and fits both V6 and V8 engines without wheelbase penalties. It also leaves enough block slots for armor supports, which matter once you reach Wave 5 and the zombie density spikes.
How many engines should I put on a short chassis?
Stick to one engine on any chassis with fewer than six wheel slots. Stacking two engines on a short 4-wheel plate doubles the fuel drain without meaningfully increasing top speed, and the extra weight often flips the car on the first ramp.
Do wheels affect fuel consumption in Build and Kill Zombies?
Yes, wheel type and size both influence rolling resistance, which the game physics treats as an indirect fuel drain. Four slim street wheels are the most fuel-efficient setup, while six heavy off-road wheels can drain the tank 30 percent faster on the same route.
What blueprint should I complete first?
The Light Car preset is the fastest first blueprint to complete because it uses a modular mid-frame, a V6 engine, and off-road wheels, all of which are common drops from the base roll machines. Completing it teaches the chassis-engine-wheel relationship without burning rerolls on rare parts.
How does the Gold Roll skill help with chassis builds?
The Gold Roll skill unlocks a premium roll mode that biases every machine toward higher-rarity drops, including rare chassis frames, V12 engines, and large fuel canisters. It sits at the end of the skill tree, so most players unlock it after their first 50 to 100 runs.