
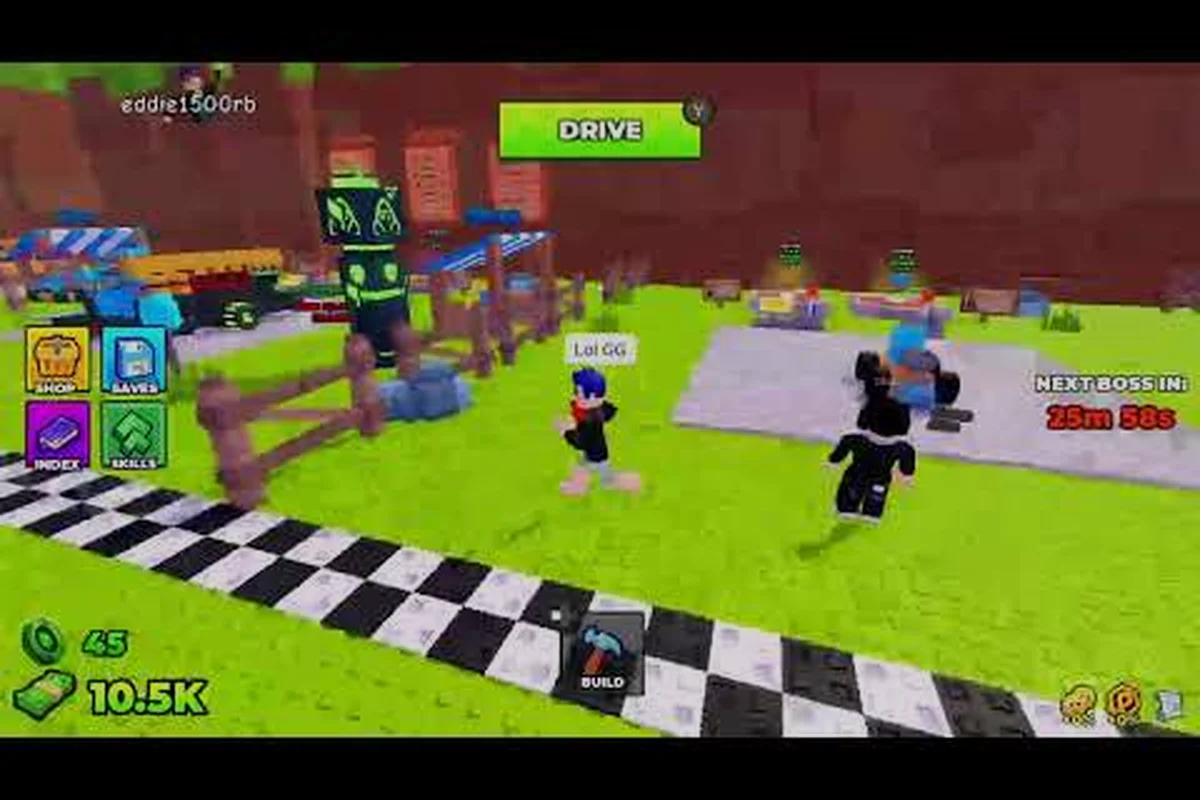
Endless mode in Build and Kill Zombies is the long-form progression layer that turns a one-shot run into a permanent power curve, and mastering it is the single fastest way to push past every wall that blocks your mid-game. Once you understand the survival loop, the distance multiplier, and the unlock checklist, every lost run becomes a stepping stone rather than a setback. This guide breaks the build and kill zombies endless mode grind into clear systems, the exact milestones to chase, and the distance tips that keep your best run alive long enough to matter.
How Endless Mode Reshapes the Build and Kill Zombies Loop
Endless mode removes the fixed finish line that caps a normal story run and replaces it with an ever-scaling zombie density curve. The longer your vehicle survives, the more waves the game stacks onto the same seed, which directly increases the cash, parts, and skill experience you bank at the end. The mode is not a side gimmick — it is the engine that fuels long-term progression through Build and Kill Zombies, because almost every permanent reward in the game can be traced back to a high-distance run in endless.
What Changes the Moment You Enter Endless
The moment you switch from a normal run into build and kill zombies endless mode, three rules take over: waves do not stop scaling, the boss spawn window shortens dramatically, and the death timer is removed. The first rule means wave 30 in endless feels like wave 12 in a normal run, because the game continuously adds new zombie archetypes and increases their movement speed. The second rule means a King 1x1x1x1-class encounter can land at any wave after 12, not just at the chapter cap. The third rule means your car can keep going as long as the chassis holds, which is why the best run community data revolves around chassis durability and engine cooling rather than raw damage.
| Mode | Wave Cap | Boss Window | Death Timer | Reward Type |
|---|---|---|---|---|
| Story Run | Wave 20 | Wave 20 only | 30 seconds after stop | One-time chapter rewards |
| Build and Kill Zombies Endless Mode | No cap | Wave 12+ at random | Removed while moving | Distance-scaled + scaling tier drops |
| Hacker Event 2026 Limited | No cap | Event-tuned | Removed while moving | Event currency + cosmetics |
The table above is built from the game's four documented game passes and the three active badges, and the most important column is the last one. Story runs hand out fixed rewards; endless hands out tier-scaling rewards that stack with the roll luck stat from the SUPPORTS and CAR PARTS machines. If you want to know how to get stronger in Build and Kill Zombies without paying, endless is the answer.
Why Distance Beats Damage in the Best Run
Most first-time players try to win endless by stacking weapon supports, but community data shows that chassis integrity and wheel traction extend the best run far more than a second firing point. Distance is the multiplier the entire mode is balanced around: a run that reaches wave 40 at average speed earns roughly four times the cash of a wave 25 run, even if it kills half as many zombies per second. The reason is that distance-based rewards are paid out in tier brackets, and each bracket is wider than the one before it. Players who sprint their engine to redline die at wave 18; players who pace their fuel and watch the chassis heat gauge routinely cross wave 35.
This is also why build and kill zombies distance tips always start with engine and wheel choice, not weapon choice. Your engine sets the speed ceiling, your wheels set the traction floor, and your fuel sets the survival window between refills. The chassis sits underneath all three, absorbing the hits that would otherwise shred your weapon supports before they ever fire.
The Permanent Strengthen Route in Build and Kill Zombies Endless Mode
Endless is the fastest farm for the permanent skill tree, the gold roll currency, and the new game plus unlock that resets your run with kept bonuses. The trick is to plan your build around what those systems actually reward, instead of chasing the rarest part you can roll.
According to the overview of Roblox, the platform supports a wide variety of user-created game modes, including endless survival rounds where players must continuously build defenses to fend off increasingly difficult waves of enemies—exactly the design pattern that build and kill zombies endless mode follows.
Reading the Skill Tree From the Bottom Up
The skill tree is split into three lanes: combat, engineering, and economy. Most new players dump points into combat because the numbers look big, but the engineering lane holds the Chassis Plating and Cooling Vents nodes that double your effective distance in endless. The economy lane holds the Salvage Bonus node, which increases the cash paid per tier-scaled wave, and the Gold Roll Chance node, which raises the probability of unlocking a Gold Roll at any random machine. Both of those nodes become the engine of your long-term strengthen path because they keep the economy flowing even on a low-kill run.
| Skill Lane | Late-Tree Node | Endless Mode Value | Priority for Endless |
|---|---|---|---|
| Combat | Heavy Caliber | +25% weapon damage | Medium |
| Combat | Rear Turret | Adds 1 firing point | Low |
| Engineering | Chassis Plating | +40% hull HP | High |
| Engineering | Cooling Vents | -20% engine heat | High |
| Economy | Salvage Bonus | +30% wave cash | High |
| Economy | Gold Roll Chance | +15% gold roll rate | High |
The pattern is obvious once you see it in a table: two engineering nodes, two economy nodes, and only one combat node make the priority cut. When you stack those four nodes before the combat nodes, you almost always reach wave 30 on a fresh save, which is the threshold the community treats as the build and kill zombies new game plus unlock gate.
How to Unlock Everything Through the Endless Grind
The phrase "how to unlock everything" in Build and Kill Zombies usually means three different things at once: all skill nodes, all four game passes worth of perks, and the new game plus flag. Endless mode feeds all three, but each one has its own milestone.
| Unlock Target | Milestone | Endless Route |
|---|---|---|
| All skill nodes | Reach wave 40 in endless | Skill XP scales with wave, not kills |
| Gold Roll machine | Roll a Gold Roll once | Requires Gold Roll Chance node at 3+ |
| New Game Plus flag | Beat endless wave 50 | One-time, unlocks NG+ mode |
| King 1x1x1x1 badge | Defeat the boss in endless | Spawn window opens wave 12+ |
| Hacker Event 2026 badge | Complete event during the limited window | Event wave is endless-style |
Notice that the new game plus flag is gated behind wave 50, not story completion, which is why endless is the only reliable path. Players who finish the story and skip endless often stall at wave 35 for months because their skill tree is too thin to support the tier-3 zombie density curve. The reverse is also true: a player who skips story entirely and grinds endless to wave 60 will unlock NG+ on a completely different power curve, and their first NG+ run will feel like wave 25 of endless.
Distance Tips That Hold Up Past Wave 30
Once you cross wave 30, the strategies that worked in story mode stop working. Zombies hit harder, the boss spawn window is fully open, and the engine heat curve starts to bite. The build and kill zombies distance tips that survive this transition all share the same principle: never let a single system redline.
The Three-Gauge Discipline
Every endless run is governed by three gauges: Engine Heat, Chassis Integrity, and Fuel Reserve. The discipline is to keep all three below 70% capacity at all times, because the moment one gauge hits the danger zone, the other two collapse in a chain reaction. If engine heat spikes, your wheels lose traction, zombies close the gap, and chassis integrity drops. If chassis integrity drops, your weapon supports despawn. If fuel runs dry, you stop moving and the 30-second death timer is reinstated even in endless.
| Gauge | Safe Zone | Danger Zone | Recovery Action |
|---|---|---|---|
| Engine Heat | Below 70% | Above 90% | Tap brake, lift off throttle for 3 seconds |
| Chassis Integrity | Above 50% | Below 30% | Switch to defensive supports, drop speed |
| Fuel Reserve | Above 40% | Below 15% | Detour to the nearest fuel cache marker |
The recovery actions are the part most players miss. You cannot pause endless to refuel, you cannot teleport to a fuel cache, and you cannot repair mid-wave. The only recovery is the in-run actions listed above, which means the best run is the one where the driver never has to use them. Plan your build around keeping the gauges green, and the rest of the run takes care of itself.
Wave-Phase Routing
Endless is not one continuous run; it has three distinct phases that demand different builds. Phase 1 is waves 1-15, where you establish your car and your economy. Phase 2 is waves 16-35, where the boss window opens and tier-2 zombies start spawning. Phase 3 is waves 36+, where tier-3 zombies stack and the King 1x1x1x1 boss is a regular encounter.
| Phase | Wave Range | Primary Threat | Best Build Focus |
|---|---|---|---|
| Phase 1 | 1-15 | Density | Wide wheels, light chassis, salvage-focused |
| Phase 2 | 16-35 | Boss spawns | Heavy supports, plating, rear turret |
| Phase 3 | 36+ | Tier-3 swarm | Cooling vents, gold roll parts, economy sustain |
If you are reading this and your best run tops out at wave 20, the fix is almost always the Phase 1 build. Players who try to build for Phase 3 from the start end up with a Phase 1 car that cannot generate the cash to afford the Phase 2 upgrades. The trick is to plan your car in three stages and rebuild between phases using the Build Mode hotkey (B by default). If you want a deeper breakdown of the part choices that fit each phase, the Build and Kill Zombies best blocks guide covers engine, wheel, fuel, and chassis pairings in detail.
Building the Best Run Setup in Build and Kill Zombies Endless Mode
The best run is not the one where you get lucky; it is the one where your setup pre-emptively answers the threats you know are coming. Endless punishes improvisation because the wave curve is too steep to redesign mid-run. Players who hit the build and kill zombies best run benchmarks almost always run the same opening build for the first 15 waves, then swap to a phase-2 template at wave 16, then swap again at wave 36.
The Opening Template
The opening template is the car you build before you press the ready button. It is the most copied setup in the community, and it works because every part has a clear job: one engine, two wheels, one fuel tank, two support mounts, and a chassis that fits the engine's class. Anything more is wasted cash; anything less is a survivability hole. Most players who try to roll for the rarest part on their first stop waste their starting gold and end up with a worse car than the default.
| Slot | Part Class | Why This Slot |
|---|---|---|
| Engine | Mid-tier | Balanced heat and speed |
| Wheels | Wide traction | Stability against tier-1 zombies |
| Fuel | Medium tank | Enough reserve for 8-10 waves |
| Supports | 1 weapon, 1 armor | Defensive baseline |
| Chassis | Engine-matched | Avoids heat penalty |
Once the opening template is locked, your goal in Phase 1 is simple: do not roll, do not swap, just drive. The cash you save by not rerolling is the cash that funds your Phase 2 build at wave 16. The build and kill zombies how to get stronger question almost always has the same answer in this phase: stop rolling and start driving.
The Phase-2 Swap
At wave 16, the game spawns the first boss-tier enemy and the zombie density curve steps up. This is the moment to swap to your phase-2 build, and the swap is the part most players get wrong. The correct move is not to roll for new parts; it is to roll once for a Heavy Caliber weapon support and to slot your existing chassis into the next-tier plating if you have the Chassis Plating skill node unlocked. The chassis upgrade is the single biggest survivability boost you can get in Phase 2 because it multiplies with the engine's existing heat curve, and it costs no reroll currency.
| Phase-2 Swap | Action | Cost | Payoff |
|---|---|---|---|
| Weapon support | Roll for Heavy Caliber | 1 roll | +25% damage |
| Chassis | Upgrade plating | Cash only | +40% hull HP |
| Wheels | Swap to reinforced set | 1 roll | Anti-boss traction |
| Fuel | Upgrade to large tank | Cash only | +6 waves of range |
This is also the phase where the build and kill zombies how to unlock everything checklist starts paying off. The Gold Roll Chance node you specced into during Phase 1 starts triggering here, and the first Gold Roll you land is usually a tier-3 part that is worth more than ten normal rolls. If you want a refresher on the economy loop that feeds this phase, the Build and Kill Zombies money guide covers cash-per-distance scaling in depth.
The Phase-3 Sustain
Phase 3 is where most endless runs end, and it is also where the build and kill zombies how to get stronger grind becomes the most rewarding. The reason is that Phase 3 is the only phase where the Salvage Bonus and Gold Roll Chance nodes are both fully online, which means every wave is paying you in both cash and high-tier part chances. The risk is that tier-3 zombies shred an unplated chassis in two hits, so the build priority shifts from damage to sustain.
| Sustain Slot | Best Choice | Reasoning |
|---|---|---|
| Cooling Vents | Always equip | Keeps engine heat under 70% in swarms |
| Chassis | Max plating | Survives tier-3 contact |
| Rear support | Slow aura | Stops flanking zombies |
| Engine | High-torque | Punches through zombie walls |
A common mistake in Phase 3 is over-upgrading the engine. A faster engine looks attractive, but it raises heat and lowers traction, which makes the chassis integrity gauge collapse. The correct move is to keep the engine at the same tier as your Phase 2 build and to spend the surplus cash on Cooling Vents and Rear Turret supports. Players who follow this template regularly cross wave 50, which is the new game plus unlock threshold.
Pushing Past the Wave 50 Wall
The wave 50 wall is the unofficial skill check of build and kill zombies endless mode. Most players stall here, and the stall is rarely about damage. The stall is almost always about three things: the engine heat curve, the chassis integrity floor, and the cash economy. Fix those three and the wall dissolves.
The Heat Curve Fix
The heat curve spikes at wave 48-52 because the game adds a new zombie archetype that deals contact damage to the engine block. Players who have not specced into Cooling Vents feel this as an instant overheat; players who have specced into it barely notice. The fix is to unlock Cooling Vents before wave 30 and to keep at least one engine-cooling support slotted from Phase 2 onward. If you are reading this past wave 30 without Cooling Vents, your fastest repair is to spend the next 5 waves farming cash and then buy the skill node from the engineering lane. The cost is steep, but the alternative is restarting the run.
The Chassis Floor Fix
The chassis floor drops at wave 50 because the King 1x1x1x1 boss becomes a regular spawn instead of a rare one. Each boss hit removes roughly 20% of a max-plated chassis, which means three boss hits end the run. The fix is to stack two defensive supports in the rear mount: one Heavy Armor and one Rear Turret. The armor absorbs the boss hit, and the turret punishes the boss for closing the gap. Players who run this combo report an extra 8-12 waves of survival on average, which is enough to push past the wall and into the wave 60+ range where the real endless rewards live.
The Economy Fix
The economy fix is the most counter-intuitive of the three. The instinct at wave 50 is to spend every spare cash on damage upgrades, but the data says otherwise. The highest-distance players in the community hoard cash through wave 55 and spend it all on a single Gold Roll at the CAR PARTS machine. A Gold Roll at wave 55 has roughly a 1-in-8 chance of dropping a tier-4 part, and a single tier-4 part is worth more than every normal roll you have banked in the entire run. Treat your cash like a lottery ticket, not a spending budget, and the wall stops being a wall.
Frequently Asked Questions
What is the fastest way to reach wave 30 in build and kill zombies endless mode?
Run the standard opening template for the first 15 waves without rerolling, then swap to a plated chassis and a Heavy Caliber support at wave 16. Keep the engine at mid-tier and unlock Cooling Vents before wave 25. This setup reaches wave 30 on a fresh save in roughly 35-40 minutes of play, according to community data.
How does the build and kill zombies new game plus flag work?
Beat endless mode at wave 50 or higher to unlock the new game plus flag. NG+ resets your run but keeps all skill nodes, badges, and unlocked game pass perks. The first NG+ run starts at the wave 25 difficulty curve, which makes it the fastest way to farm the build and kill zombies how to unlock everything checklist.
Can you unlock everything in Build and Kill Zombies without paying?
Yes, but it takes longer. The free path is endless grinding for cash, parts, and skill XP until you have every node unlocked and every badge earned. The paid path uses game passes to shortcut the grind, but every paid perk can be earned for free if you reach wave 60+ in endless consistently. Most players who want to know how to get stronger without spending end up grinding endless anyway, which is why the mode is the centerpiece of progression.
What is the best engine for the build and kill zombies best run?
The mid-tier high-torque engine is the community standard for the best run because it balances heat output and traction. Higher-tier engines run hotter and require Cooling Vents to stay safe, which is a skill point investment that not every player has unlocked. The mid-tier engine is the safer choice until you have the engineering lane fully specced.
How do build and kill zombies distance tips change past wave 40?
Past wave 40, distance tips shift from "drive faster" to "drive smarter." The wave 40+ curve punishes over-acceleration because engine heat and chassis damage compound faster than your speed gain. The correct strategy is to maintain a steady 70% throttle, let your weapon supports do the killing, and only sprint when a boss spawns. Players who follow this pacing consistently cross wave 50, while players who keep redlining the engine stall at wave 42 on average.