
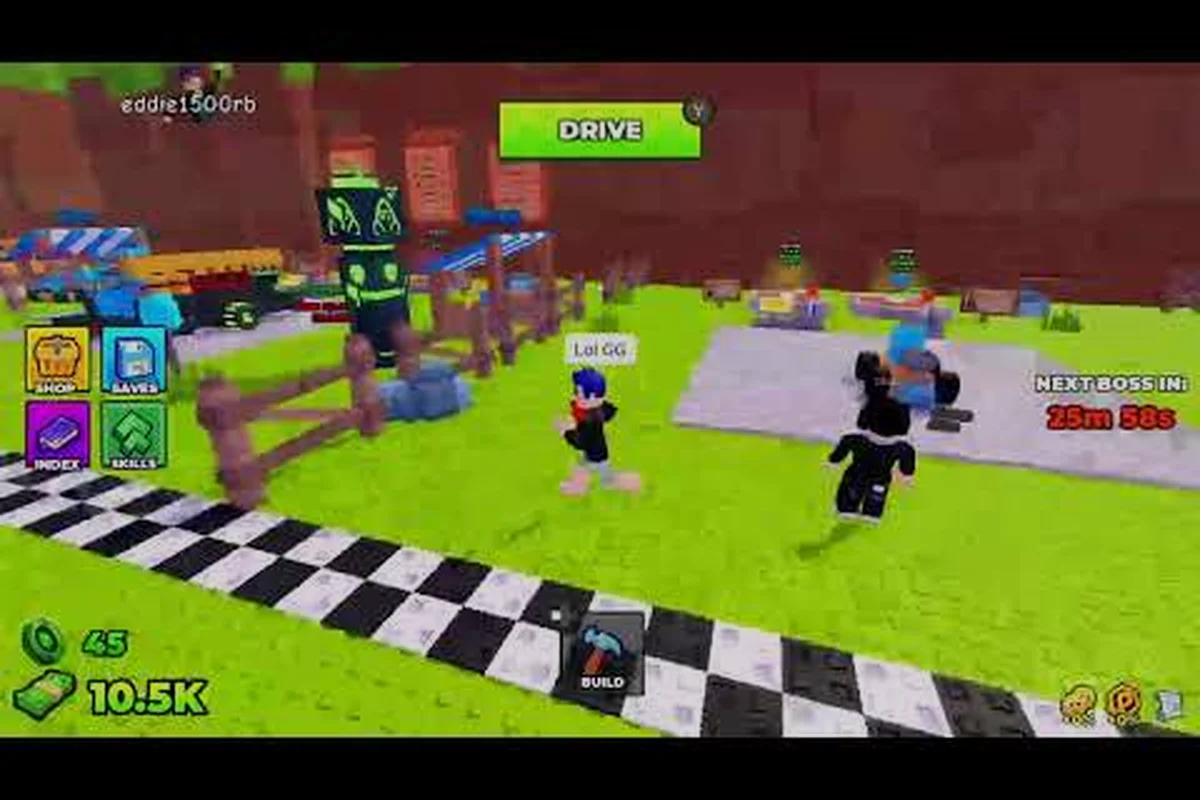
Most Roblox runners hit the same brick wall after a few sessions: their car looks great, the wheels spin, and then the zombies swarm, the engine overheats, and the run ends before the next milestone. That is exactly where this build and kill zombies progression guide picks up. The goal here is not just surviving another 30 seconds, but turning early game flukes into repeatable distance climbs you can stack session after session.
The reason progression stalls in Build and Kill Zombies is rarely a single weak car. It is usually a stack of small choices: a part tier that looked promising but lacks durability, a weapon support that shreds weak zombies but crumbles against the King 1x1x1x1 event boss, a luck value that was great for the first roll but stops producing rare drops after a handful of pulls. Once you start seeing your run as a chain of milestones instead of one endless drive, every decision starts to have a purpose, and that mindset shift is what separates a 500m casual run from a genuine world record distance attempt.
Why Progression Feels Slow in Build and Kill Zombies
Progression in Build and Kill Zombies is split across four overlapping systems: car parts, weapon supports, skill unlocks, and luck. None of them grow on their own. A new part without the right skill tier underperforms, a maxed skill without fresh parts has nothing to roll into, and a high luck value on the wrong roll machine just gives you more filler. Players who hit an early wall usually have one of those three imbalances, and they don't know which one is the actual bottleneck.
The Four-Layer Growth System
Each layer feeds the next, and ignoring any of them creates a soft cap on your best distance. The community frequently describes the loop as a pyramid, and the data from the Zombie Car Crusher official Roblox community page backs up the idea that progression is expected to be cyclical rather than linear.
| Layer | What it controls | Reset behavior | Where it shows up in a run |
|---|---|---|---|
| Car parts | Engine power, durability, fuel tank, wheel grip | Reroll every part, no permanent loss | First 5-10 seconds of a run |
| Weapon supports | Shredder blades, spikes, front cannons | Reroll each support slot | Replaces your starter weapon |
| Skill tree | Permanent luck, roll count, support count | Permanent across all runs | First roll in the lobby |
| Luck value | Drop quality on each pull | Resets per pull, soft-builds per session | Every CAR PARTS or SUPPORTS roll |
Early Game vs. Mid Game Milestones
The first 10 runs of Build and Kill Zombies are about understanding the roll machines, not chasing distance. The mid game is where the build and kill zombies distance record conversation actually starts, because by then you have enough parts variety to assemble a real build. The table below captures the rough threshold community players report, though exact values may shift with patches.
| Milestone | Typical distance | What it actually means |
|---|---|---|
| First clean run | 200-400m | You've learned the roll UI and Build Mode basics |
| First 1k run | 1,000-1,500m | Parts are mostly mid-tier, supports include at least one shredder |
| First 5k run | 5,000-7,000m | Skill tree has 2-3 unlocks, luck above 1.5x |
| First 10k run | 10,000-15,000m | Gold Roll unlocked, at least one Gold tier part |
| World record distance attempt | 25,000m+ | All layers stacked, server luck buff active, often co-op |
Players chasing the build and kill zombies world record distance tend to spend their first hour of any session in the lobby, not the road. That habit is the single biggest separator between casual runs and progression climbs.
The Roll Machines and How to Progress Faster
The lobby is where the build and kill zombies how to progress journey actually begins, because the two roll machines in Build and Kill Zombies determine your entire run. CAR PARTS drops engines, blocks, wheels, and fuels for the car. SUPPORTS drops weapon support pieces that you strap to the chassis. Both are gated by the same skill tree, so if you ignore skill unlocks you will be stuck pulling from a low-ceiling pool forever.
Reading the Roll UI and Timing Your Pulls
Each pull costs in-game cash, which you earn by completing runs. The cash per distance curve is steep early, then flattens, so hoarding for one big roll rarely beats spending on three smaller rolls. Community testing on shared servers suggests that batching two or three pulls in a row, then going on a run, outperforms spreading pulls across many short runs. The reason is simple: more parts mean more reroll options, and that means a higher chance of finding the synergy between engine, wheels, and fuel before the run starts.
| Action | Cash cost (approx) | Outcome | Best for |
|---|---|---|---|
| Single CAR PARTS pull | Low | One random part slot | Testing luck baseline |
| Triple CAR PARTS pull | Medium | Three parts, often mixed tier | Building a full car |
| Single SUPPORTS pull | Low | One weapon support | Filling an empty slot |
| Double SUPPORTS pull | Medium | Two supports, shredder more likely | Upgrading an existing weapon |
| Gold Roll (skill-locked) | High | One guaranteed Gold tier part | Late-game builds |
What to Pull First When You're Stuck
If your distance has plateaued, the answer is almost never "pull more car parts." It is usually one of three things: your supports are weak, your luck value is too low, or your skill tree is missing a key unlock like More Support I. A useful diagnostic is to run three times in a row with no changes and log your average distance. If it stays flat, your parts are not the problem. If it climbs slightly, your skill unlocks are working but parts are holding you back. If it crashes, the run is dying at a specific point, usually a boss wave or a fuel issue, and the fix is in supports or fuel economy.
For a deeper look at how cash fuels the roll cycle, the money guide breaks down the per-distance economy and which run types actually pay for themselves. Pairing that read with this build and kill zombies progression guide is the cleanest way to see how every meter driven feeds the next pull.
Skills, Luck, and the Permanent Layer
The skill tree is the only permanent layer in Build and Kill Zombies, which is why a smart early investment compounds forever. Community data points to a roughly linear unlock order, with players prioritizing luck and roll count first, then support capacity, then the high-cost Gold Roll. Skipping luck for raw power early is the most common mistake reported by new players, because it makes every later pull worse, not better.
A Practical Skill Order for Climbing Distance
The exact order of unlocks can vary based on patches, but the structure is consistent: you want a stable luck baseline before spending on quantity, and quantity before spending on tier. The table below captures the typical community order as of late 2026, though the developer may adjust it in future updates.
| Order | Skill | Why it matters |
|---|---|---|
| 1 | Luck I | Doubles your baseline drop quality on every pull |
| 2 | Luck II | Pushes rare drops from occasional to reliable |
| 3 | More Support I | Adds a support slot, doubling your weapon capacity |
| 4 | More Support II | Adds another support slot for late-game builds |
| 5 | Gold Roll I | Unlocks the high-cost, guaranteed Gold pull |
| 6 | Cash boosts (optional) | Only after the core loop is stable |
Why Luck Outscales Raw Pull Count
A common misconception is that more pulls equal more progress. In Build and Kill Zombies, luck value gates what each pull can drop, so 10 pulls at 1x luck will routinely produce fewer usable parts than 5 pulls at 2x luck. The compounding effect is brutal: high luck gives you a Gold part early, that Gold part lets you survive longer, the longer run gives you more cash, the cash funds another high-luck pull, and the loop continues. Players who invest in Luck II first consistently post better best distance numbers than players who chase pull count.
Surviving Longer Runs: Habits That Actually Compound
Surviving longer in Build and Kill Zombies is mostly a function of three habits: knowing when to swap supports, knowing when to abandon a run, and knowing how to read the boss waves. Each of these looks simple, but together they are the difference between a 1k average and a 10k average.
When to Cut a Run vs. Push Through
Every run has a moment where it can either recover or spiral. If your car has lost more than two supports and your engine is below 50 percent durability, the smart move is to crash intentionally and bank the cash. If your car is still mostly intact and you have fuel for at least one more boss wave, you can push. The mistake most players make is staying in a run out of stubbornness, which costs them the chance to reroll into better parts.
| Run state | Recommended action | Reason |
|---|---|---|
| Engine below 50%, supports lost | Bank and reroll | Future pulls will be better funded |
| Engine above 50%, supports full | Push to next milestone | Run still has cash-generating value |
| Boss wave incoming, fuel low | Drive to a fuel pickup first | Wasted boss kills cost more than they reward |
| Boss wave active, full health | Engage and prioritize boss | Boss kills are the single best cash burst |
Reading Boss Waves and the King 1x1x1x1 Event
Boss waves are the make-or-break points of any run, especially the King 1x1x1x1 event that the community ties to the late-game milestone badge. The King spawn is rare, server-dependent, and announced in chat, so players who mute chat miss the call entirely. Surviving the King is mostly a numbers game: you need a Gold tier engine, at least one shredder support, and either a co-op partner or a pre-positioned fuel cache. Solo players can still clear it, but the build needs to be tight, and a single missing support is often the reason a run dies.
For boss-specific tactics, the boss tips article covers the wave timing and the King 1x1x1x1 strategy in more detail, and it pairs well with this build and kill zombies progression guide if you want the full run-up to the King badge.
Distance Records, World Record Attempts, and the Solo Grind
Chasing the build and kill zombies best distance is a different kind of progression than the early game. It is less about unlocking new layers and more about optimizing the ones you have. World record distance attempts in the community tend to share three traits: a fully stacked skill tree, a server with active luck buffs, and either a co-op partner or a solo pilot with deeply tested routes.
What World Record Runs Have in Common
| Phase | Distance | Action | Why |
|---|---|---|---|
| Warm-up | 0-1,000m | Drive straight, avoid zombies | Engine durability stabilizes |
| Build-up | 1,000-5,000m | Start engaging zombies | Cash per distance climbs |
| Boss prep | 5,000-8,000m | Route to fuel first, then boss | Avoids wasted boss kills |
| Mid run | 8,000-15,000m | Engage everything, watch durability | Best cash per distance window |
| Late run | 15,000m+ | Survive and bank, push if stacked | World record territory |
Solo vs. Co-op: Which Climbs Faster
Solo runs are cleaner to track but cap out faster because you have no one to draw aggro or split the boss health bar. Co-op runs have higher variance but break the soft cap that solo pilots hit around 10-15k. If your goal is a personal best, solo is more consistent. If your goal is the build and kill zombies world record distance, co-op with a coordinated partner is the only realistic path, and most record screenshots in community channels show two-player teams.
For the rules around co-op and server behavior that affect record runs, the game rules article is a useful reference, especially if you want to make sure your distance record is legitimate and not invalidated by a server rule break.
The Long Game: Reset Habits and Resets
The last layer of build and kill zombies how to progress wisdom is about knowing when to stop chasing one build and start over. The game has a reset mechanic for progress, and it is not a punishment, it is a tool. Some of the strongest community players reset deliberately to test fresh skill orders, and they document the results for the rest of the player base.
When a Reset Actually Helps
A reset is worth doing if you have spent more than two sessions feeling like your runs are flat. The reason is that the skill tree is permanent, but the parts and supports reset every roll, so the only way to test a new skill order is to wipe and start over. Players who never reset often miss the discovery that a different unlock order would have given them more flexibility, and they keep grinding a build that has already hit its ceiling.
| Reason to reset | Reason not to reset |
|---|---|
| You want to test a new skill order | You are mid-progress on the current tree |
| Runs have plateaued for 2+ sessions | You just unlocked Gold Roll and want to use it |
| You want a clean grind for the Hacker Event 2026 | You are close to a personal best |
| You want to replay the early game for nostalgia | You have a co-op partner relying on your build |
For a step-by-step on how the reset actually works, the reset progress article covers the chest rewards and the lobby steps. Pairing that guide with this build and kill zombies progression guide is the cleanest way to start a fresh climb without losing the lessons from your old one.
Frequently Asked Questions
What is the fastest way to progress in Build and Kill Zombies?
The fastest path is to unlock Luck I and Luck II before spending anything else, then alternate between CAR PARTS and SUPPORTS pulls rather than focusing on one machine. Players who stack luck early see their best distance numbers climb within three to four sessions, while players who skip luck for raw pull count usually plateau around the 1k mark and never recover.
How do I survive longer runs as a solo player?
Solo survival is mostly about cash management: bank a run before the engine drops below 50 percent durability, route to fuel pickups before boss waves, and never engage the King 1x1x1x1 event without at least one shredder support active. The exact cash thresholds may shift with patches, but the underlying rule, which is that a banked run funds a better next run, holds true across every community test reported so far.
How far can a good build go in Build and Kill Zombies?
A fully stacked build with Gold Roll unlocked, two shredder supports, and the 2x Permanent Luck game pass can clear 20k on a good run, and coordinated co-op teams have shared screenshots in the 25k to 30k range. The build and kill zombies world record distance is a moving target because the developer adjusts the roll pools, but the 25k to 30k band is the realistic ceiling as of late 2026.
Should I reset my progress to climb faster?
A reset is worth it if your runs have plateaued for two or more sessions and you want to test a different skill order. It is not worth it if you just unlocked Gold Roll, because the Gold Roll is the single biggest mid-game power spike and losing it sets you back further than any new order can compensate in the short term.
Does co-op really help with distance records?
Yes, co-op breaks the soft cap that solo pilots hit around 10 to 15k by splitting aggro and boss health, and almost every shared world record distance screenshot involves a two-player team. The trade-off is that co-op runs have higher variance, because a partner who crashes or disconnects can end the run early, so co-op is best for record attempts, not for consistent progression climbing.